| 7,000+ Reviews
 Free EU Shipping above 100€*
 400,000+ Customers Worldwide
 Worldwide Tracked Shipping


What Is Calisthenics?
Calisthenics is a bodyweight training method. The principle is simple: use your own body weight as resistance to develop your strength, mobility, balance and muscle control. Push ups, pull ups, dips, squats, planks... all these movements are part of the discipline.
Derived from the Greek kallos (beauty) and sthenos (strength), calisthenics is much more than a simple series of exercises: it's a training philosophy that prioritizes body mastery over load. Unlike classic weight training with dumbbells, you progress here by making the movements harder, not by adding plates to a bar.
And that's exactly what makes it the ideal discipline for a home workout: no need for a bench, a rack or machines. Your body is your gym.

Why Start Calisthenics? The 5 Big Benefits
A Workout That Requires Very Little Equipment
This is benefit number one. To start calisthenics at home, you need nothing more than your body and a bit of space. A doorway pull up bar and a pair of parallettes are then enough to unlock 90% of the exercises in the discipline. Compared to a gym membership or a full home gym, the investment is minimal.
A Discipline Suited to All Levels
Every movement has easier or harder variations. Can't do a regular push up yet? Start on your knees. Are strict pull ups too hard? Go through Australian pull ups or use a resistance band. This logic of progressions allows a complete beginner as well as an advanced athlete to train effectively with the same basic exercises.
Better Posture, More Strength and Improved Physical Condition
Bodyweight exercises heavily engage your postural muscles: the back, the core, the shoulders. The result: a straighter posture in everyday life, less lower back pain and functional strength you'll feel in all your activities. Add to that a significant cardiovascular workout on circuits, and you get complete physical conditioning.
A Complete Full Body Workout
A squat doesn't only work your thighs, a pull up doesn't only work your back. Every calisthenics exercise is a compound movement that recruits several muscle groups in synergy, core included. With a few well-chosen movements, you stimulate your entire body, exactly what you need when training at home with limited time.
Improved Voluntary Contraction and Muscle Control
Calisthenics teaches you to feel your muscles and contract them voluntarily. The hollow hold, the plank or the handstand demand total body tension: this is what we call body tension. This neuromuscular control is the key that will later allow you to unlock advanced skills like the muscle up, the planche or the front lever.

How to Start Calisthenics at Home? Expert Tips
Before jumping into the exercises, take two minutes to absorb these principles. They will make the difference between rapid progress and months of stagnation (or worse, an injury).
Always start with a 5 to 10 minute warm up: joint rotations (wrists, shoulders, hips), a few dynamic movements and a gradual increase in intensity. Then, prioritize quality of execution: one perfect push up is worth more than five sloppy ones. Finally, be consistent: 3 well-structured sessions per week will always beat random workouts.
Understanding RPE to Manage Your Effort
RPE (Rate of Perceived Exertion) is a scale from 1 to 10 that measures your perceived effort. An RPE of 10 means you can't do a single more rep. An RPE of 7 to 8 means you have 2 to 3 reps left in reserve.
To progress in calisthenics at home, aim for an RPE of 7 to 8 on the majority of your sets. You stimulate your muscles enough to progress, while keeping clean technique and avoiding nervous system burnout. Save RPE 9 to 10 for testing your maxes from time to time, not for every session.
Beginner Mistakes to Avoid at All Costs
Here are the classic traps when starting your home training:
- Trying to go too fast: attempting the muscle up before mastering 10 strict pull ups is very likely to result in an injury.
- Neglecting your legs: calisthenics isn't just about the upper body. Squats, lunges and pistol squats are part of the program.
- Skipping the warm up: your shoulders and wrists will thank you.
- Doing half reps: a full range of motion builds more muscle and protects your joints.
- Training every day without rest: your muscles are built during recovery, not during the workout.

What Equipment Should You Choose to Train at Home?
The Essentials to Get Started (Pull Up Bar, Rings, Parallettes)
You can start with nothing, but three pieces of equipment radically change the game for your calisthenics training at home:
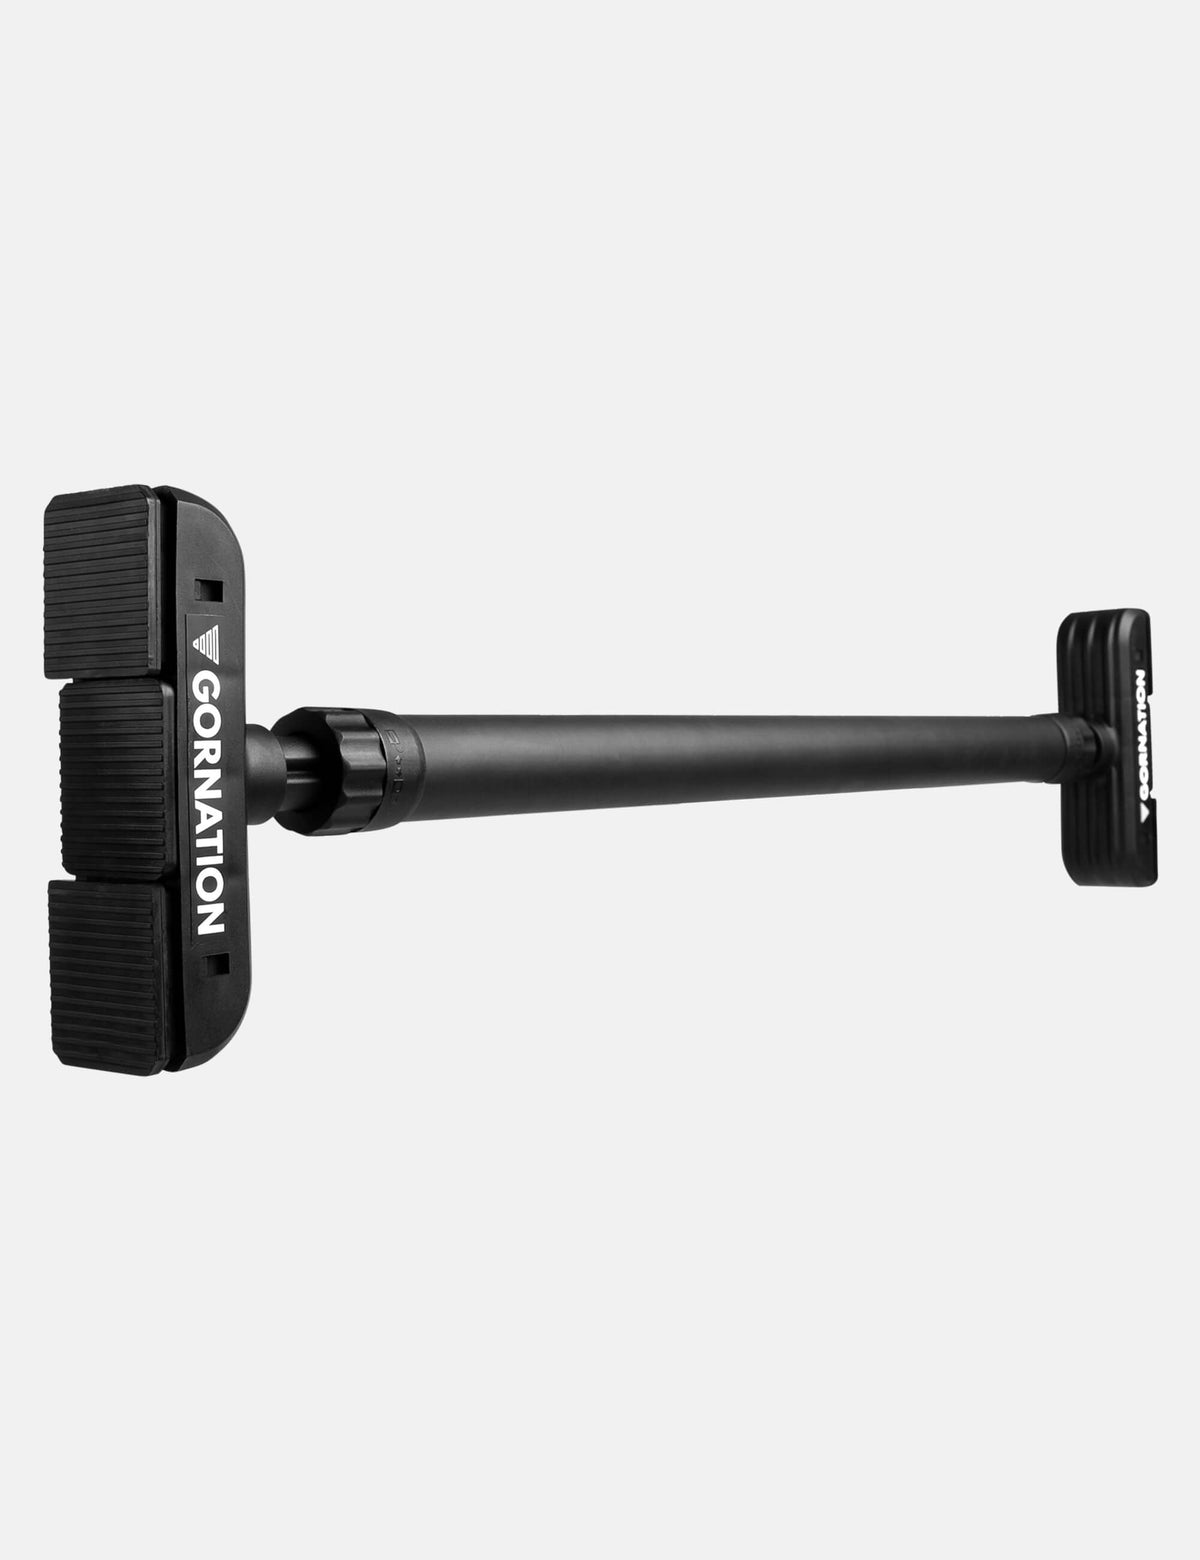
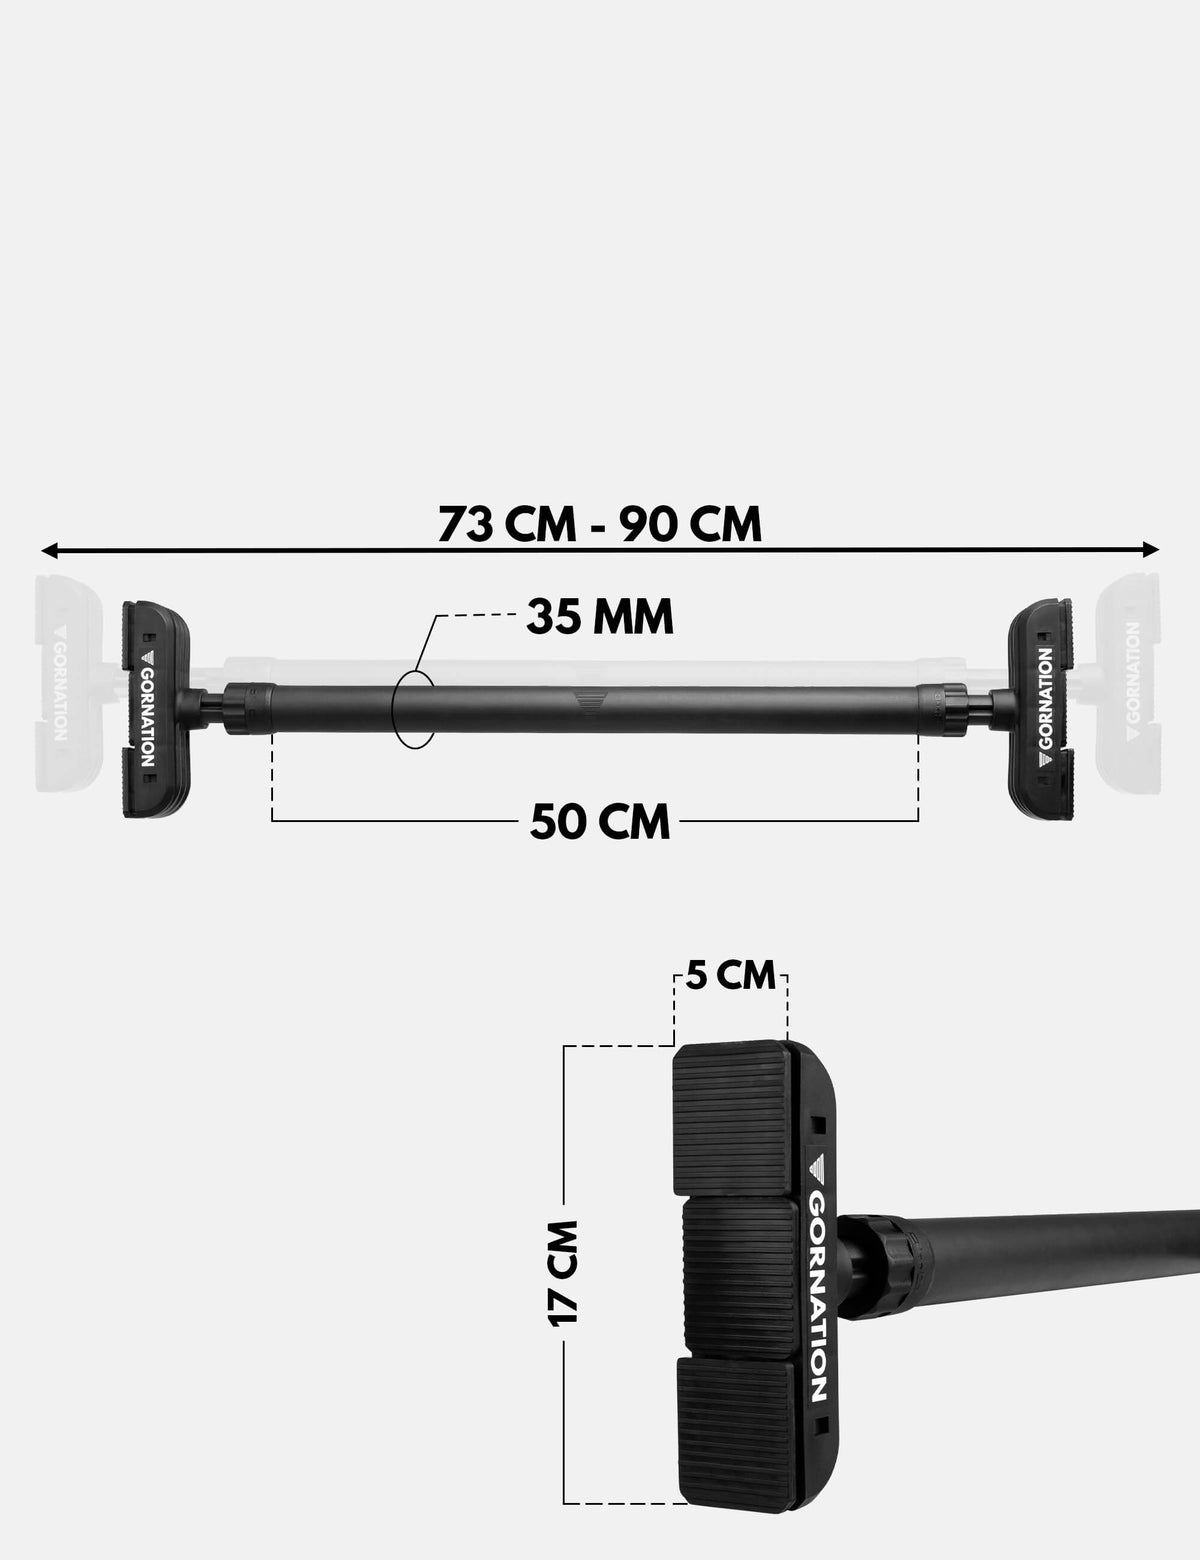
- The pull up bar: the most worthwhile investment. Mounted in a doorway or on a wall, it unlocks pull ups, rows, knee raises and later the muscle up.
- Gymnastic rings: hung from your bar or a beam, they allow dozens of variations (dips, rows, unstable push ups) and develop incredible stability.
- Parallettes: these mini parallel bars protect your wrists during push ups, dips and handstand or L-sit work.
GORNATION Accessories to Progress Faster (Resistance Bands, Liquid Chalk, Grips)
Once the basics are in place, certain accessories really accelerate your progress:
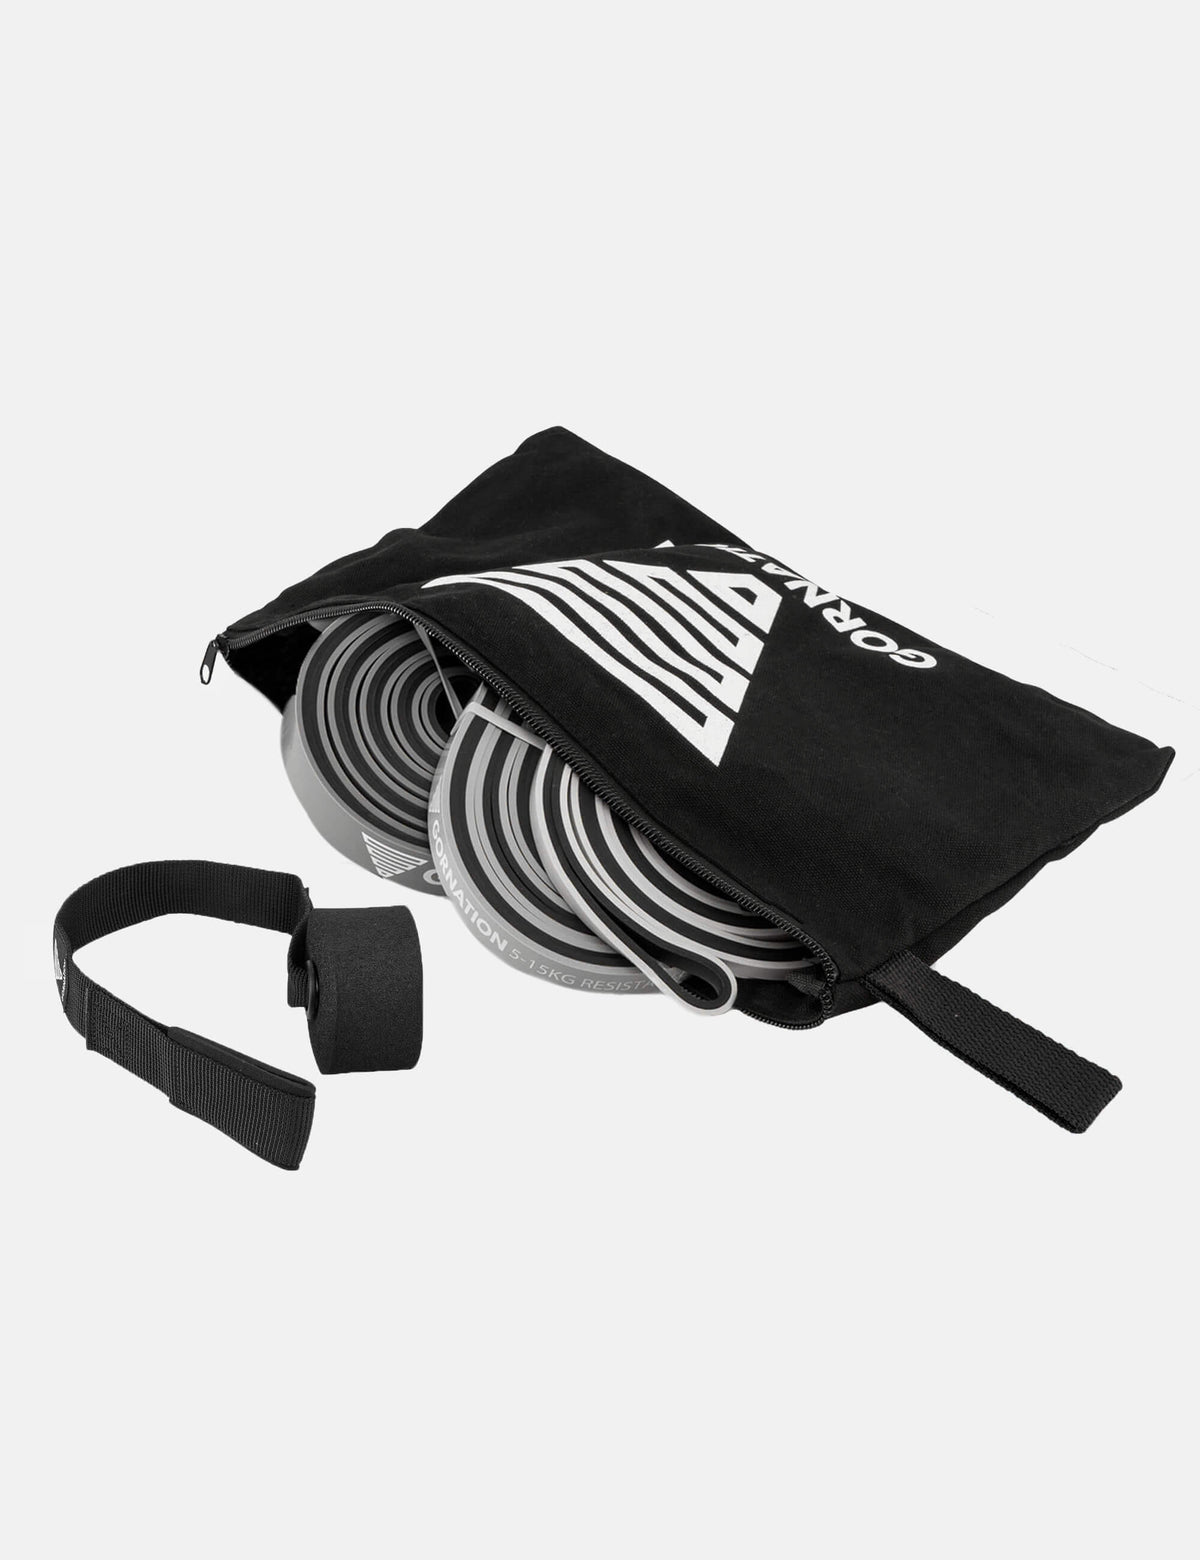
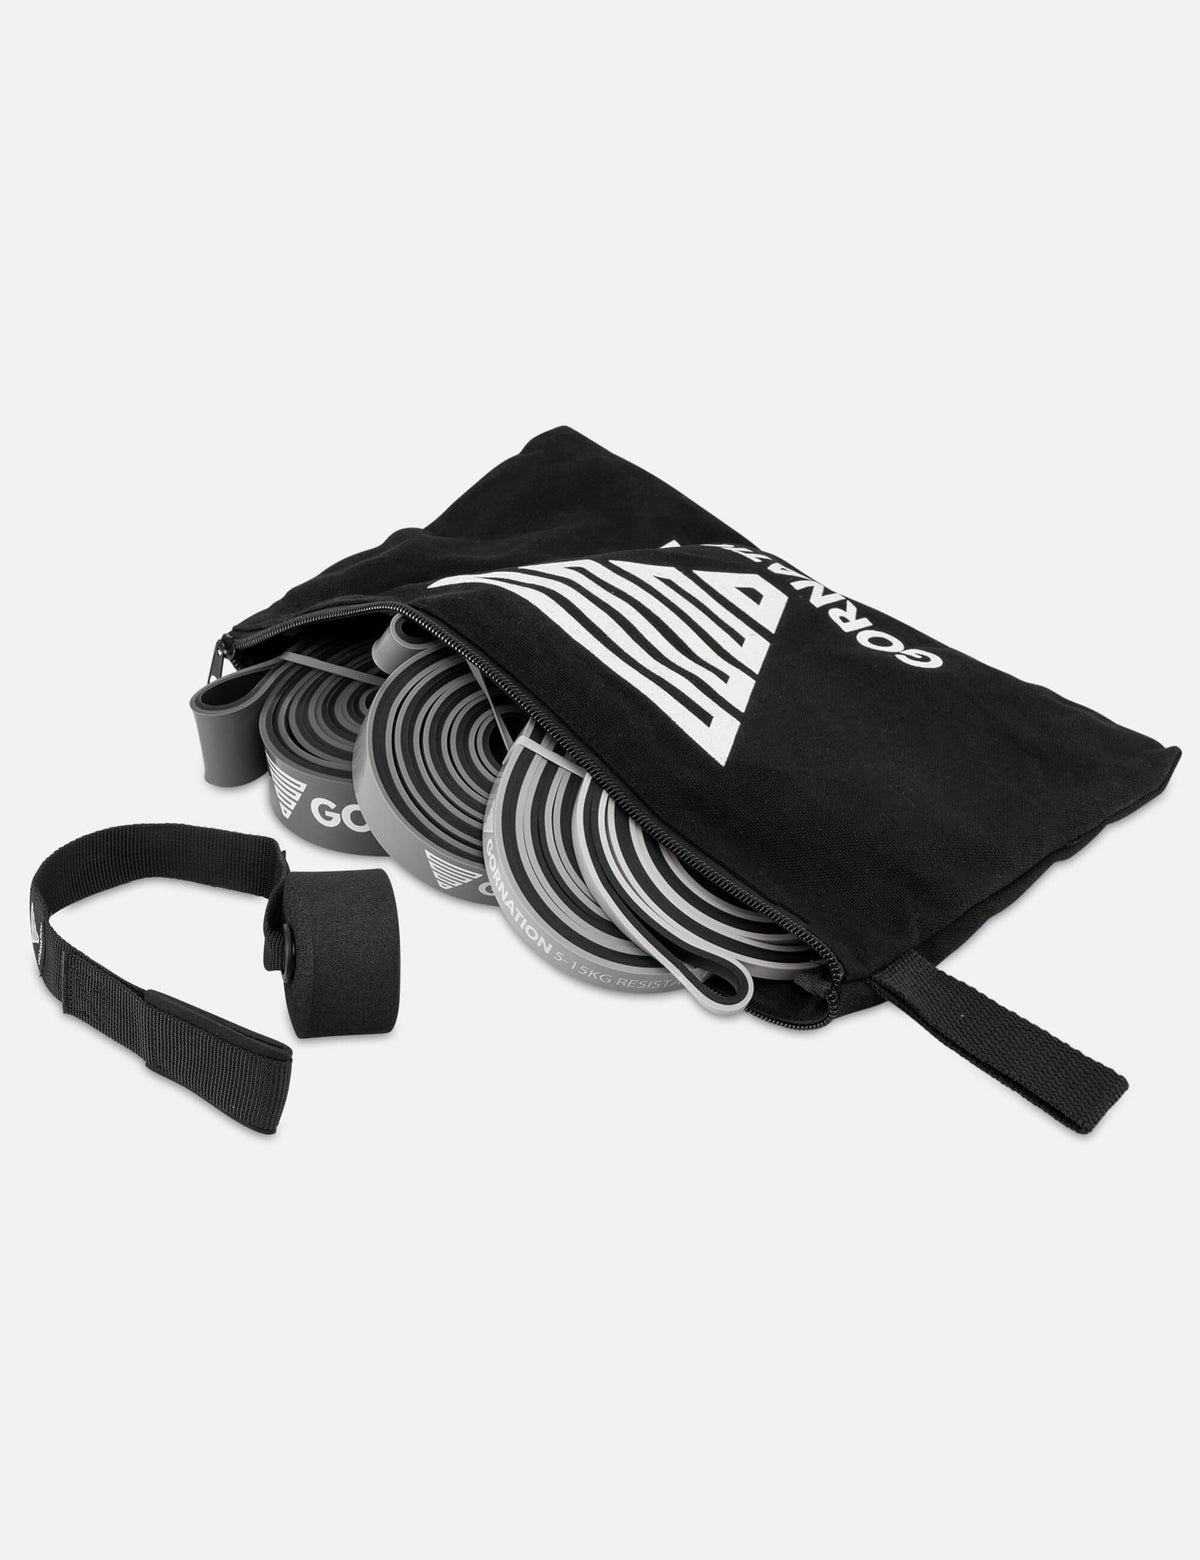
- Resistance bands: perfect for assisting your first pull ups or dips, then for adding resistance as you get stronger. They're the ultimate progression tool at home.
- Liquid chalk: no more hands slipping off the bar mid-set. It improves your grip without leaving dust in your living room, ideal for indoor training.
- Grips: they protect your palms from calluses and tears during long pull up sessions, while strengthening your grip.
These GORNATION accessories are designed by and for street workout athletes: durable, compact and easy to store, they fit perfectly into a home setup.
The 8 Best Calisthenics Exercises at Home, Ranked by Level
Here's your complete toolbox. Every beginner calisthenics exercise at home is described with its technique and key points.
Easy Level: The Foundations
1. Air Squats: How to Perform Them Correctly
The bodyweight squat is the foundation of leg training. Feet shoulder-width apart, toes slightly turned out, lower yourself by pushing your hips back as if sitting on a chair. Keep your back straight, chest up and heels anchored to the floor. Go down at least until your thighs are parallel to the floor, then drive back up by pushing hard into the ground.
Beginner goal: 3 sets of 15 to 20 controlled reps.
2. The Plank: How to Hold a Good Position
The plank builds the core strength you'll need everywhere. Resting on your forearms and toes, form a straight line from heels to head. Contract your abs, squeeze your glutes and slightly tuck your pelvis to avoid arching your lower back. Look at the floor to keep your neck neutral.
Beginner goal: 3 holds of 30 to 45 seconds without shaking all over.
3. Push Ups: The Perfect Technique
The push up is the king exercise for the chest, shoulders and triceps. Hands slightly wider than shoulders, body perfectly braced, lower yourself until your chest almost touches the floor, elbows at about 45 degrees from your torso. Then push back up to full arm extension.
Too hard? Start on your knees or with your hands elevated on a table. Too easy? Slow the descent down to 3 seconds.
A quick comfort tip: if your wrists hurt during your sets, use push up bars. By keeping the wrist in a neutral position, they relieve pressure on the joint and, as a bonus, allow a deeper range of motion to better stretch the chest.
Beginner goal: 3 sets of 8 to 12 clean reps.

4. Australian Pull Ups (Inverted Rows): The Execution Guide
The inverted row prepares your back for real pull ups. Position yourself under a low bar (or a sturdy table), body straight, heels on the floor. Pull your chest toward the bar by squeezing your shoulder blades, pause for one second at the top, then lower yourself back down under control. The more horizontal your body, the harder it gets.
Beginner goal: 3 sets of 8 to 12 reps.
Intermediate Level: Building Power
5. The Hollow Hold: How to Strengthen Your Dynamic Core
The hollow hold is the gymnasts' core secret. Lying on your back, lift your shoulders and legs off the floor, arms extended behind your head, lower back pressed into the floor at all times. Your body forms a tight banana shape. If it's too hard, bend your knees or bring your arms alongside your body.
Goal: 3 holds of 20 to 40 seconds. This core strength transfers directly to pull ups, the handstand and all street workout skills.
6. Strict Dips: The Step-by-Step Technique
Dips develop impressive pushing power. On parallel bars, tall parallettes or two stable surfaces, lower yourself by bending your elbows until your shoulders drop below elbow level, torso leaning slightly forward. Push back up to full arm lockout, without swinging your legs.
Use a resistance band under your knees to assist you at first.
Goal: 3 sets of 6 to 10 strict reps.
7. Strict Pull Ups: How to Get Your First Reps
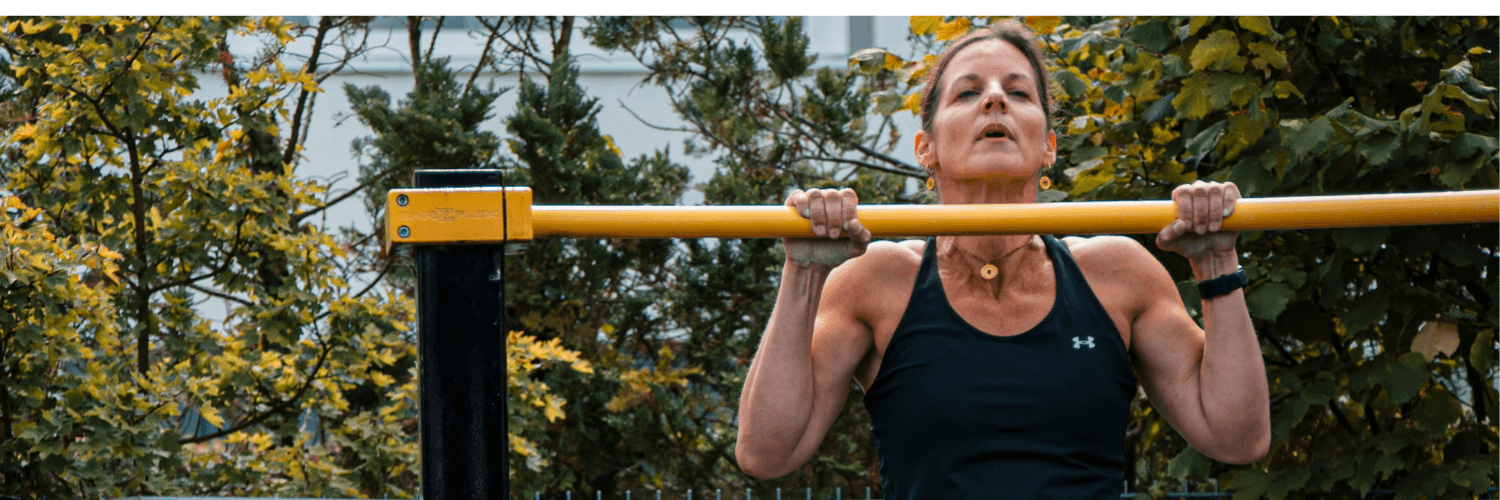
The pull up is THE iconic calisthenics movement. Hanging from your bar with an overhand grip, shoulders engaged (no passive shrugging), pull until your chin passes over the bar without momentum, then lower yourself back down in 2 to 3 seconds.
No first pull up yet? Chain together negatives (jump to the top, lower slowly) and band-assisted pull ups. It's the most effective method to unlock your first reps at home.
Goal: 3 sets of 5 to 8 reps.

Advanced Level: The Balance Challenge
8. The Handstand Hold Against a Wall: How to Master It
The handstand is the gateway to the world of skills. Against a wall, facing the wall, walk your feet up while your hands move closer to the wall. Arms locked, shoulders pushed toward the ceiling, body braced like a vertical hollow hold.
Start with 10 to 20 second holds, chest facing the wall, and increase progressively. Warm up your wrists well before each session.
Goal: hold for 60 seconds against the wall before attempting the freestanding handstand.
2 Calisthenics Programs to Do at Home
Beginner Program: 3 Sessions per Week to Build the Foundations
This full body program is performed 3 times a week (for example Monday, Wednesday, Friday), with a rest day between each session. Rest 90 seconds between sets.
| Exercise | Sets | Reps |
|---|---|---|
| Air squats | 3 | 15 to 20 |
| Push ups (or on knees) | 3 | 8 to 12 |
| Australian pull ups | 3 | 8 to 12 |
| Plank | 3 | 30 to 45 sec |
| Hollow hold (bent knees) | 2 | 20 sec |
When you reach the top of the rep range on all sets at an RPE of 7, move on to the next variation or add reps.
Intermediate Program: 4 Sessions per Week to Level Up
Here, we switch to a push / pull split to increase volume. Sessions 1 and 3: pushing. Sessions 2 and 4: pulling and legs. Rest 2 minutes between sets.
Push Sessions (day 1 and 3):
| Exercise | Sets | Reps |
|---|---|---|
| Strict dips | 4 | 6 to 10 |
| Push ups | 4 | 12 to 15 |
| Handstand hold against wall | 4 | 20 to 30 sec |
| Diamond push ups | 3 | 8 to 12 |
Pull + Legs Sessions (day 2 and 4):
| Exercise | Sets | Reps |
|---|---|---|
| Strict pull ups | 4 | 5 to 8 |
| Australian pull ups | 3 | 12 to 15 |
| Bulgarian split squats | 3 | 10 to 12 / leg |
| Hollow hold | 3 | 30 to 40 sec |

How to Progress and Stay Motivated in the Long Run?
The key to progress in calisthenics comes down to one concept: progressive overload. Every week, aim to do a little bit better: one more rep, one more second of core hold, a harder variation or a slower tempo.
To stay motivated with your home training, track your performance in a notebook or an app. Watching your numbers go up is the best fuel there is. Also set concrete skill goals: your first pull up, your first dip, your 60 second handstand. These milestones make every session exciting.
Finally, film yourself regularly. At home, no one corrects your technique: video is your best coach. And if motivation dips, remember that consistency beats intensity, an average workout done is worth more than a perfect workout skipped.
FAQ: Everything About Calisthenics at Home
Is Calisthenics Really Effective?
Yes. Studies and the experience of millions of athletes confirm it: bodyweight training develops strength, muscle mass and endurance, as long as you apply progressive overload. Just look at gymnasts' physiques: they're built almost exclusively with body weight.
How Do You Practice Calisthenics Correctly?
Warm up systematically, prioritize perfect technique with a full range of motion, train 3 to 4 times a week and respect your recovery days. Progress step by step: master each variation before moving on to the next.
What Is the Principle of Calisthenics?
Using your body weight as the only resistance to develop strength, mobility and control. Difficulty increases by changing leverage, tempo or exercise variations, not by adding external loads.
How Do You Start Calisthenics at Home Without Equipment?
Focus on equipment-free movements: squats, push ups, planks, hollow holds, lunges and burpees. Use your furniture wisely: a sturdy table for inverted rows, a chair for dips. A simple pull up bar can then complete your setup.
Where Can You Practice Calisthenics?
Anywhere: at home, in a street workout park, in a garden or at the gym. That's the beauty of the discipline, your gym follows you wherever you go.
How Long Does It Take to Master Calisthenics Exercises?
With 3 sessions per week, expect 4 to 8 weeks to master the fundamentals (push ups, squats, planks), 2 to 6 months for your first pull ups and strict dips, and 6 to 12 months to hold a solid handstand. Everyone progresses at their own pace: consistency is everything.
Conclusion
Calisthenics at home is probably the most accessible method to build a strong, mobile and athletic body. With the 8 exercises in this guide, the 2 structured programs and a few well-chosen accessories, pull up bar, resistance bands, liquid chalk, you have everything you need to progress for years without leaving your living room.
The hardest part is getting started. So put down your phone, clear two square meters in your room and start your first session today. Your future self will thank you.