| 7,000+ Reviews
 Free EU Shipping above 100€*
 400,000+ Customers Worldwide
 Worldwide Tracked Shipping

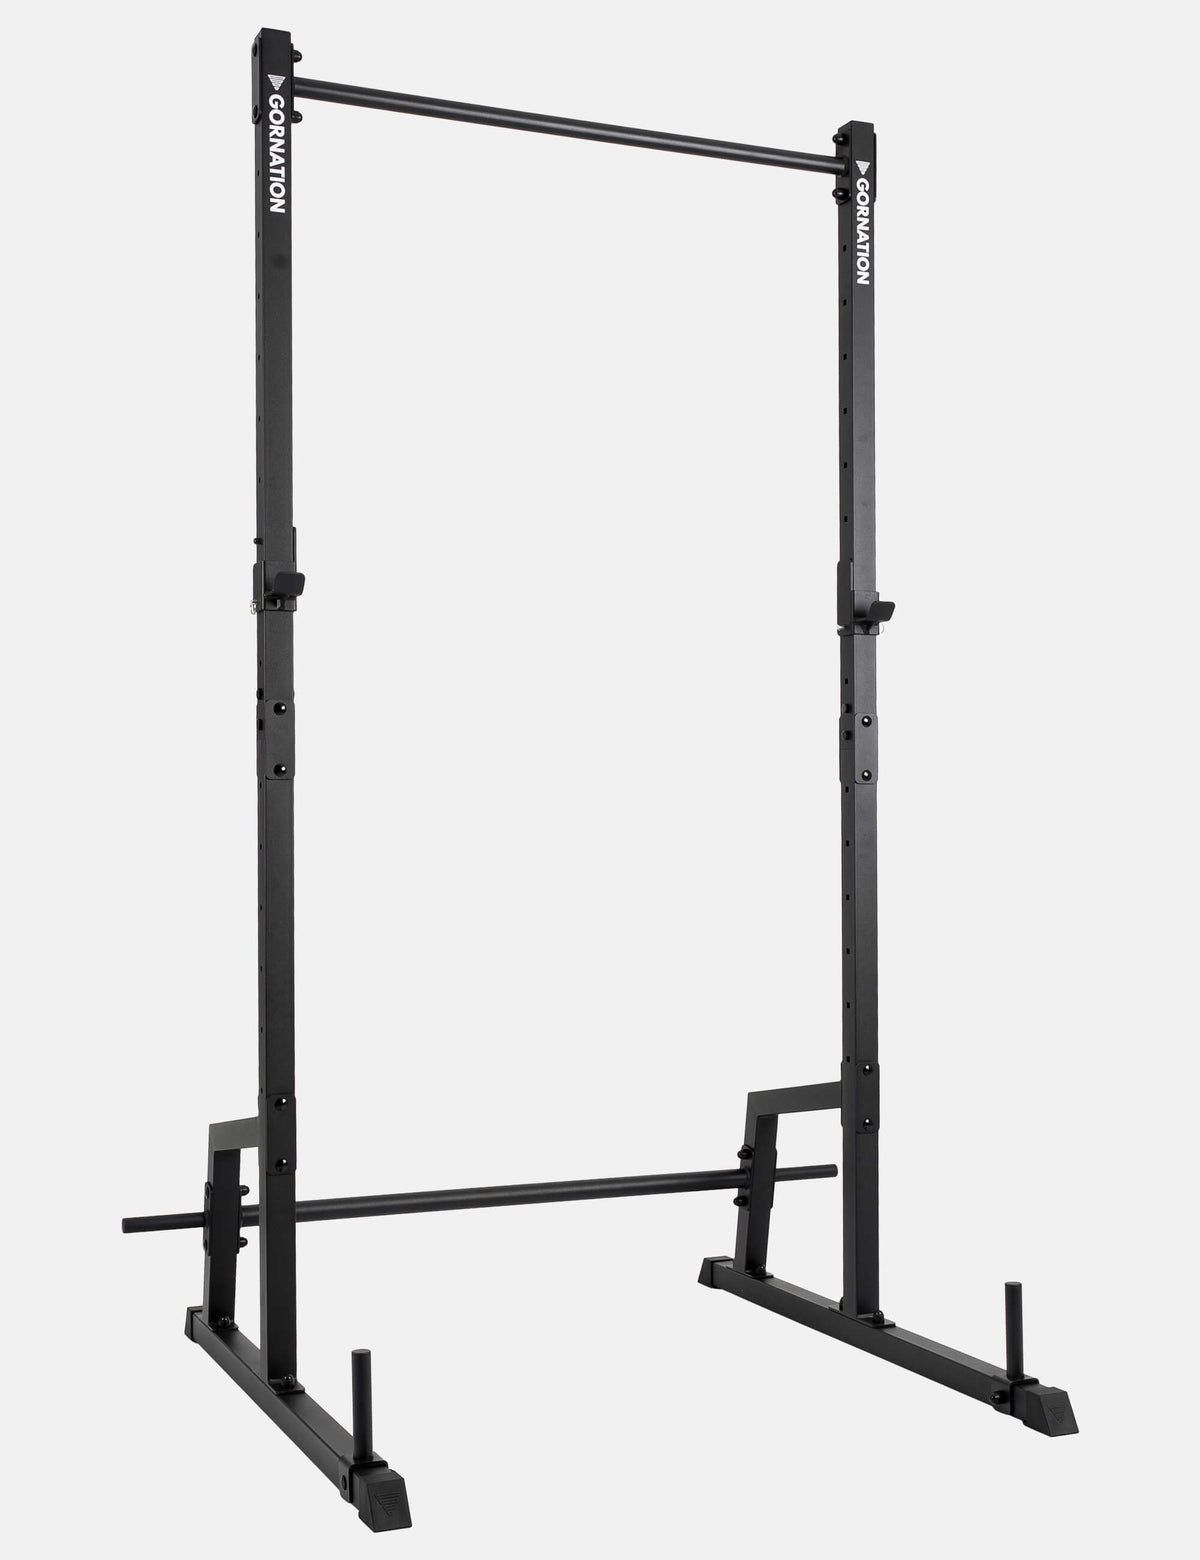
The Pull Up Bar and Dip Bars for wall mounting are the perfect way to turn your home into your ultimate calisthenics spot. While door pull up bars or mobile solutions are often totally fine for beginners, a solid wall-mounted version gives you way more stability, higher load capacity and a safe setup for pull ups, dips, muscle ups or static holds like the front lever. In this guide we’ll show you step by step how to install your equipment safely so you can fully focus on your training.

What you need before installation
Before you grab the drill, make sure you’ve got all the parts and tools ready. Every delivery of the GORNATION wall-mounted Pull Up Bar or Dip Bars includes the key parts: the steel pieces of your equipment, the right screws, washers and wall plugs, plus a detailed manual.

You’ll also need some standard tools: a drill with the right bit (10 mm masonry bit for concrete or brick walls, 4 mm bit for wood), a spirit level, a measuring tape, a wrench and a pen or pencil to mark the drill holes. Having everything ready before you start saves you time and nerves during setup.
Step-by-step installation guide
Step 1 – Check your wall
Not every wall is perfect for our wall-mounted Pull Up Bar and Dip Bars. The best choice is concrete or solid brick walls because they provide maximum stability and can handle the loads during training without any issues.
Mounting on aerated concrete walls (like Ytong) is also possible, but only with special plugs.
What you should never do is install on drywall or thin partition walls. These walls aren’t load-bearing and therefore not suitable.
👉 If you’re unsure, ask at your local hardware store or get advice from a professional.
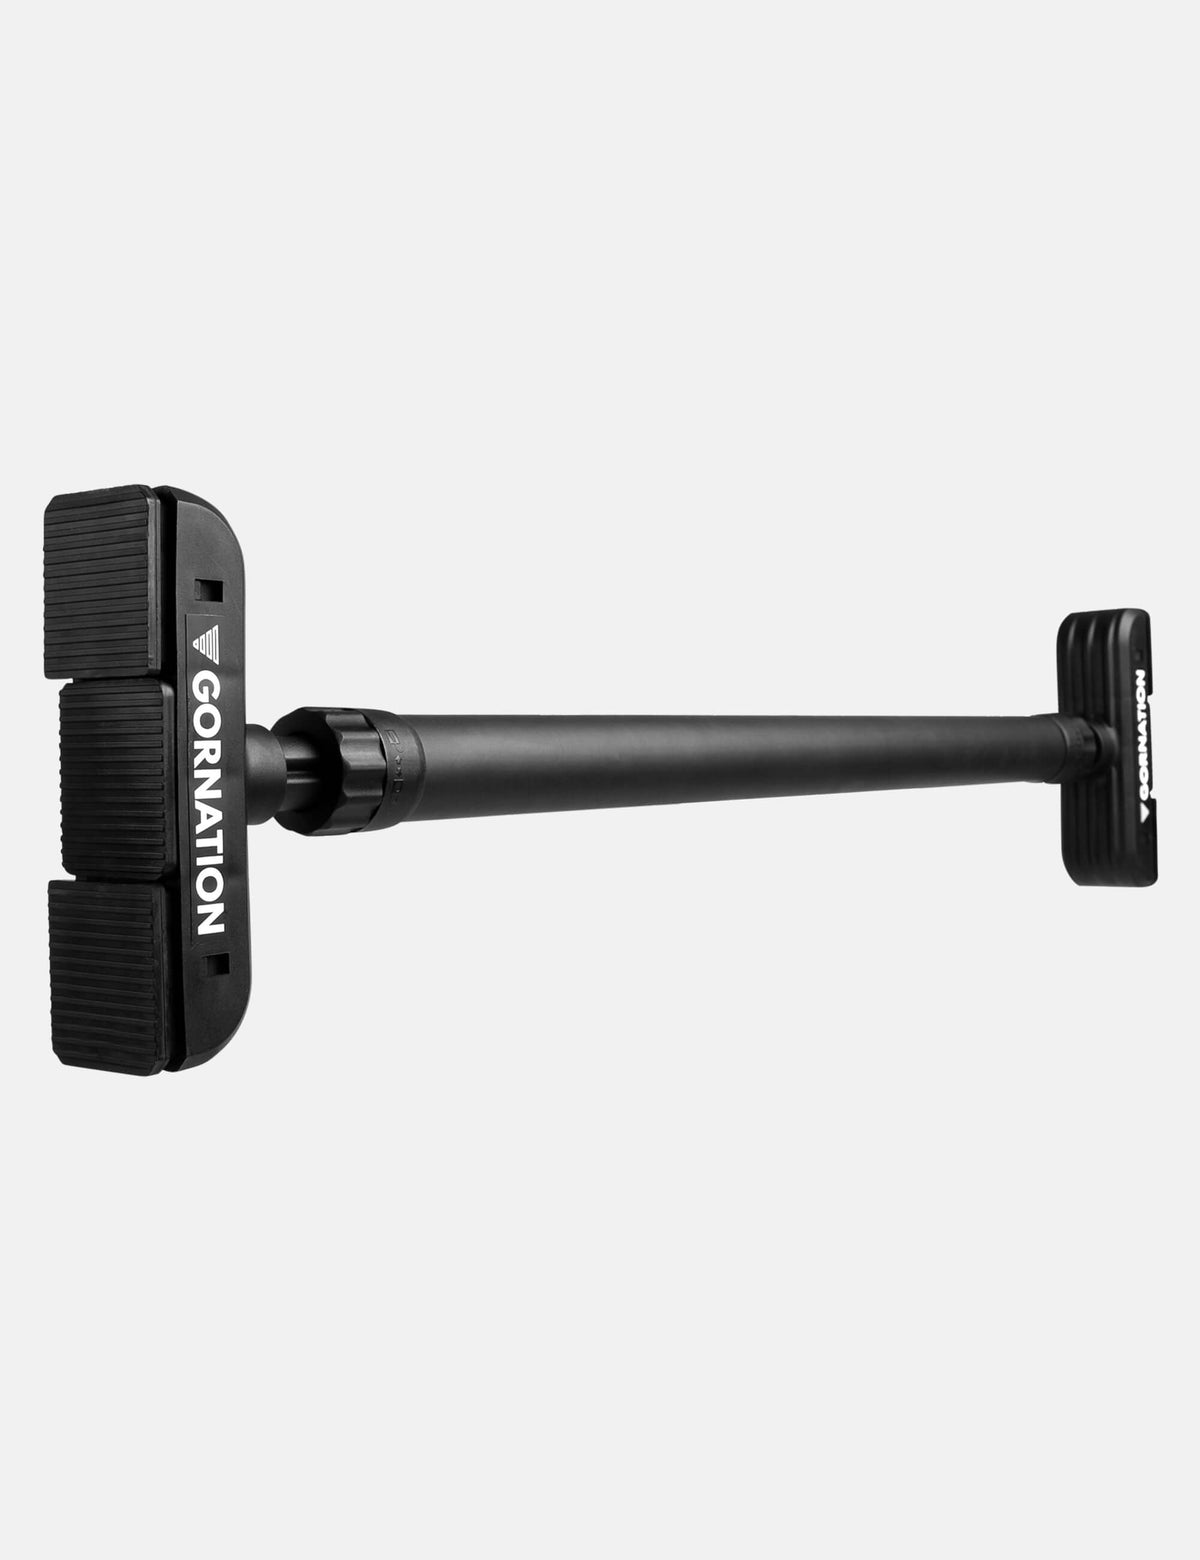
Step 2 – Assemble the Pull Up Bar
Before mounting to the wall, put the Pull Up Bar together following the included instructions. The Dip Bars are ready for installation straight away. Make sure to tighten the screws evenly without overtightening. If the Pull Up Bar feels solid, it’s ready to go on the wall.

Step 3 – Mark the drill holes
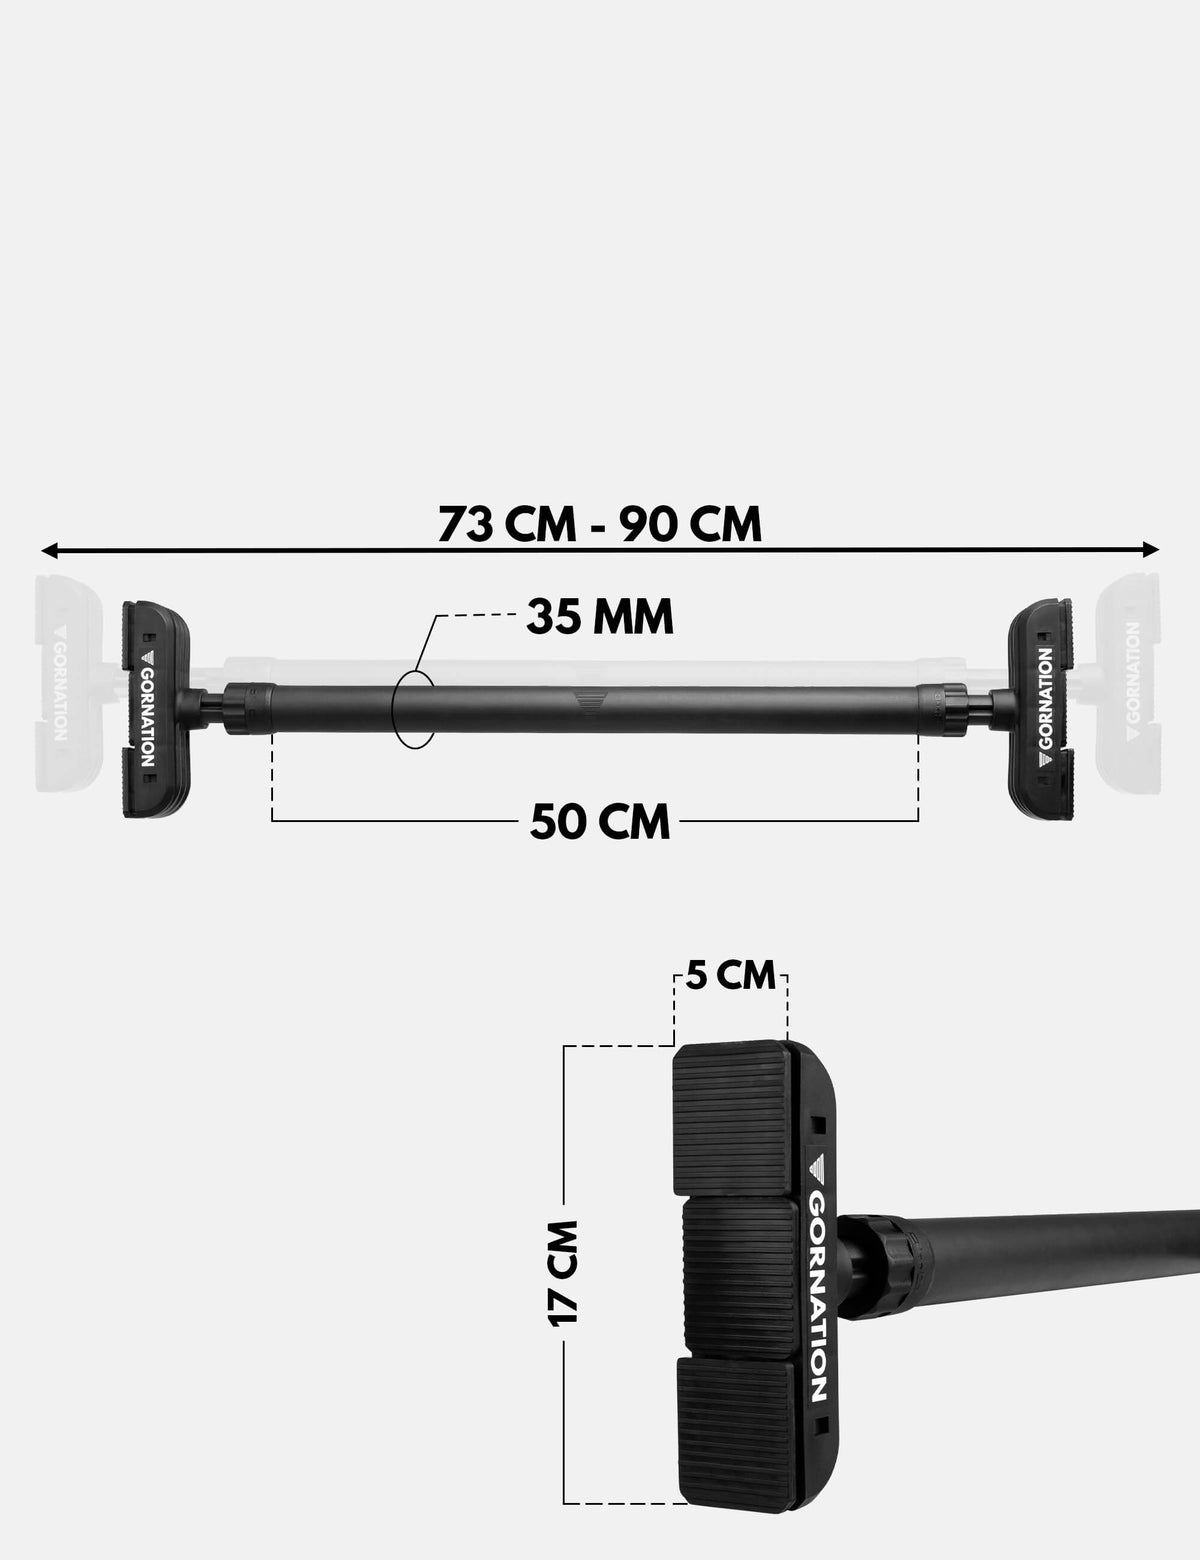
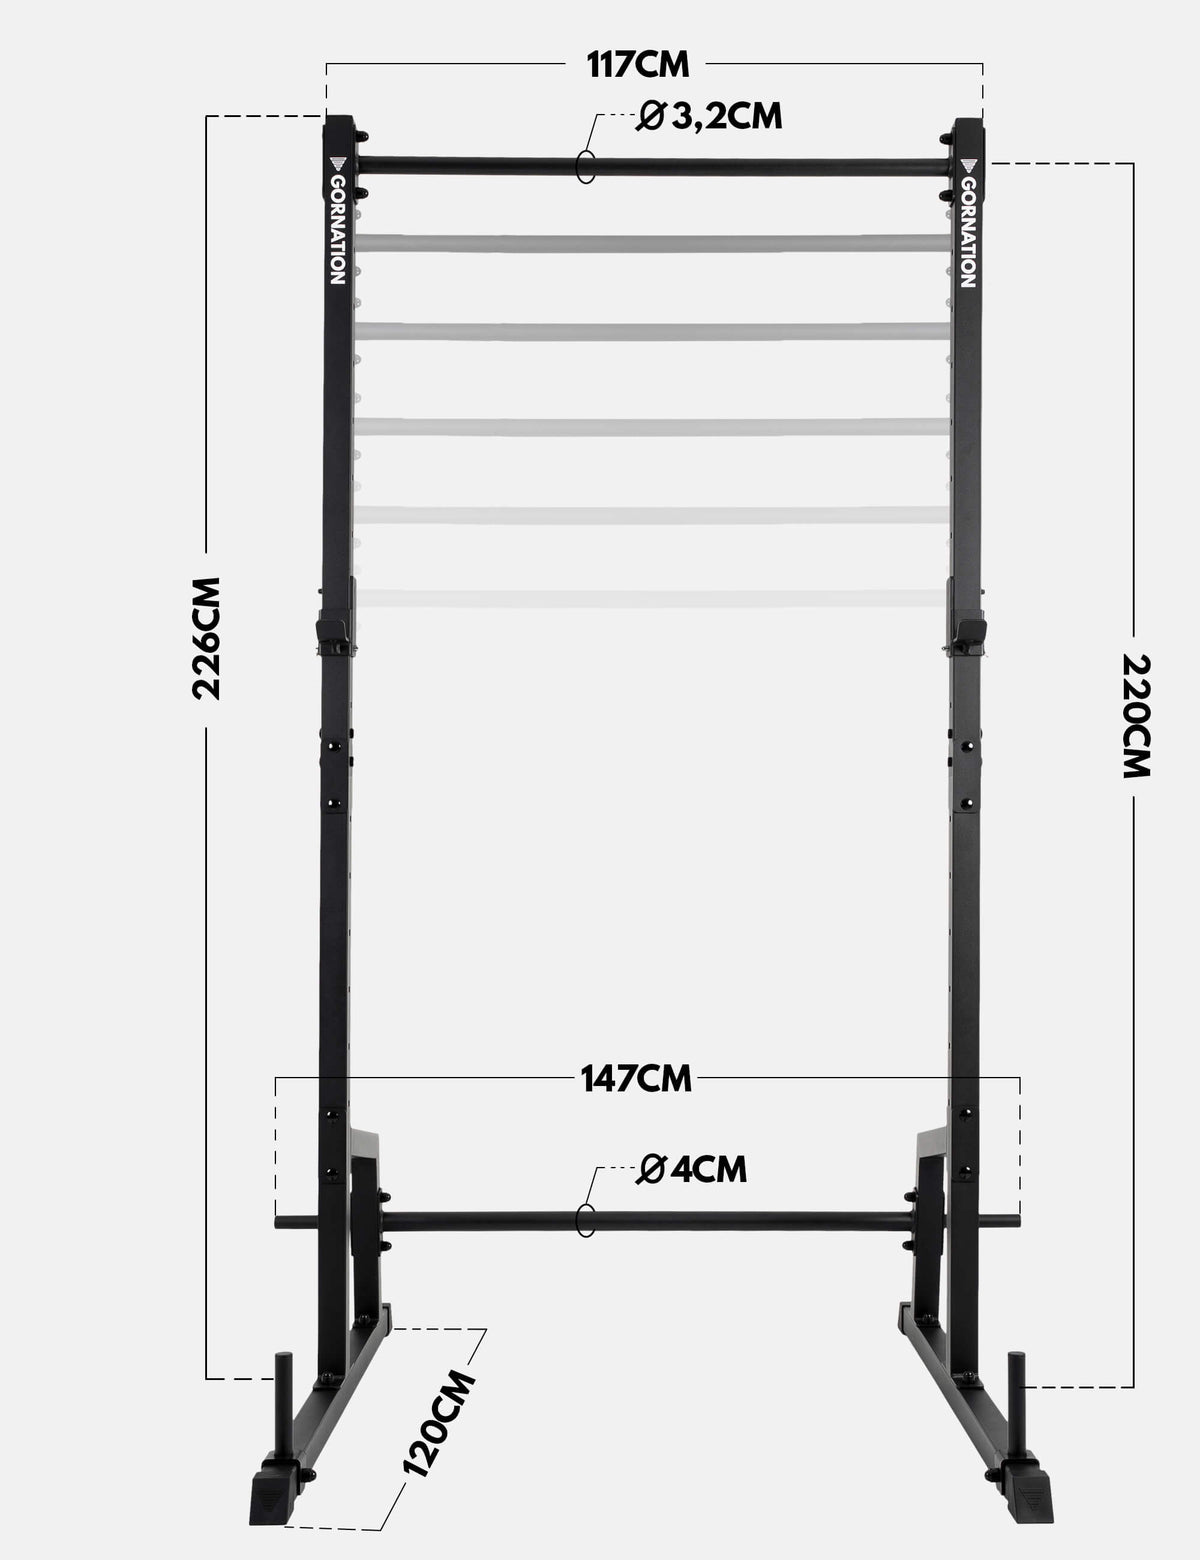
Hold the Pull Up Bar and/or Dip Bars against the spot where you want to mount them. The height depends on your preference: for the Pull Up Bar you should be able to hang freely without your feet touching the floor, while also having enough clearance above for exercises like muscle ups. The Dip Bars should be placed so you can perform dips with straight legs without touching the ground. We recommend a width between 50 cm and 54 cm for the bars.
Use a spirit level to align the Pull Up Bar and/or Dip Bars perfectly, then carefully mark all drill holes with a pen or pencil. This step works best with two people.

Step 4 – Drill and insert wall plugs
Now it’s time to drill. For concrete or brick walls, use a 10 mm masonry bit and drill about 80 mm deep. For wood, a 4 mm bit is enough.
After drilling, insert the included wall plugs. Make sure they’re flush with the wall so the screws can provide maximum stability. A hammer can help here.

Step 5 – Mount the bar on the wall
Now you can mount your new equipment. This step also works best with two people: one holds the Pull Up Bar or Dip Bars in place, while the other inserts and tightens the screws. Tighten evenly so everything sits solidly without play, but don’t overtighten to avoid damaging the plugs or equipment.
Step 6 – Safety check and final test
Before starting your training, always do a safety check. Carefully hang with your bodyweight from the Pull Up Bar and move slightly back and forth. For the Dip Bars, support yourself and test with small movements. If everything stays stable, your bar is ready to use – and we can say: Enjoy your workout!
Setup video: Mounting the Pull Up Bar & Dip Bars safely
To make it even easier to install your wall-mounted Pull Up Bar and Dip Bars, we’ve created a detailed setup video. In this video we guide you step by step through the process of mounting your new equipment.
The video is the perfect add-on to the manual: you can follow every move and set it up right away. That way the installation of your Pull Up Bar or Dip Bars is safe and reliable.
Optimize your training: Our recommendations
Once the setup is done, the fun begins: training. With your wall-mounted Pull Up Bar and Dip Bars you’ve got the perfect base for a versatile calisthenics workout – from pull ups and dips to static holds. Here are some recommendations to boost your training: