| 7,000+ Reviews
 Free EU Shipping above 100€*
 400,000+ Customers Worldwide
 Worldwide Tracked Shipping
How to do the exercise
The Assisted Front Lever is one of the best progression exercises toward achieving the full Front Lever. By using a resistance band, you reduce the effective load while practicing proper body alignment, core tension, and shoulder control. Here’s how to perform it correctly:
1. Starting Position
Grab a pull-up bar with a shoulder-width overhand grip. Attach a resistance band to the bar and place your feet or hips inside, depending on how much assistance you need. Pull your shoulder blades down and forward, engage your core and glutes, and form a hollow body position with straight legs and pointed toes.
2. Lifting Phase
Raise your hips and tilt your body backward until your torso is parallel to the ground. Keep your arms straight and avoid arching your lower back. Think “ribs down, glutes tight, gaze toward the bar.” Use the band only to maintain form – not to make it effortless.
3. Holding the Position
Hold the parallel position isometrically for as long as possible (e.g., 5–10 seconds) while keeping your body rigid and straight. For progression, you can also perform controlled negative reps by lowering from the top position.
4. Reset and Repeat
Relax slightly between holds, reset your shoulder depression and core engagement, and repeat for the desired sets or hold durations. Gradually reduce the band strength over time to work toward the unassisted Front Lever.
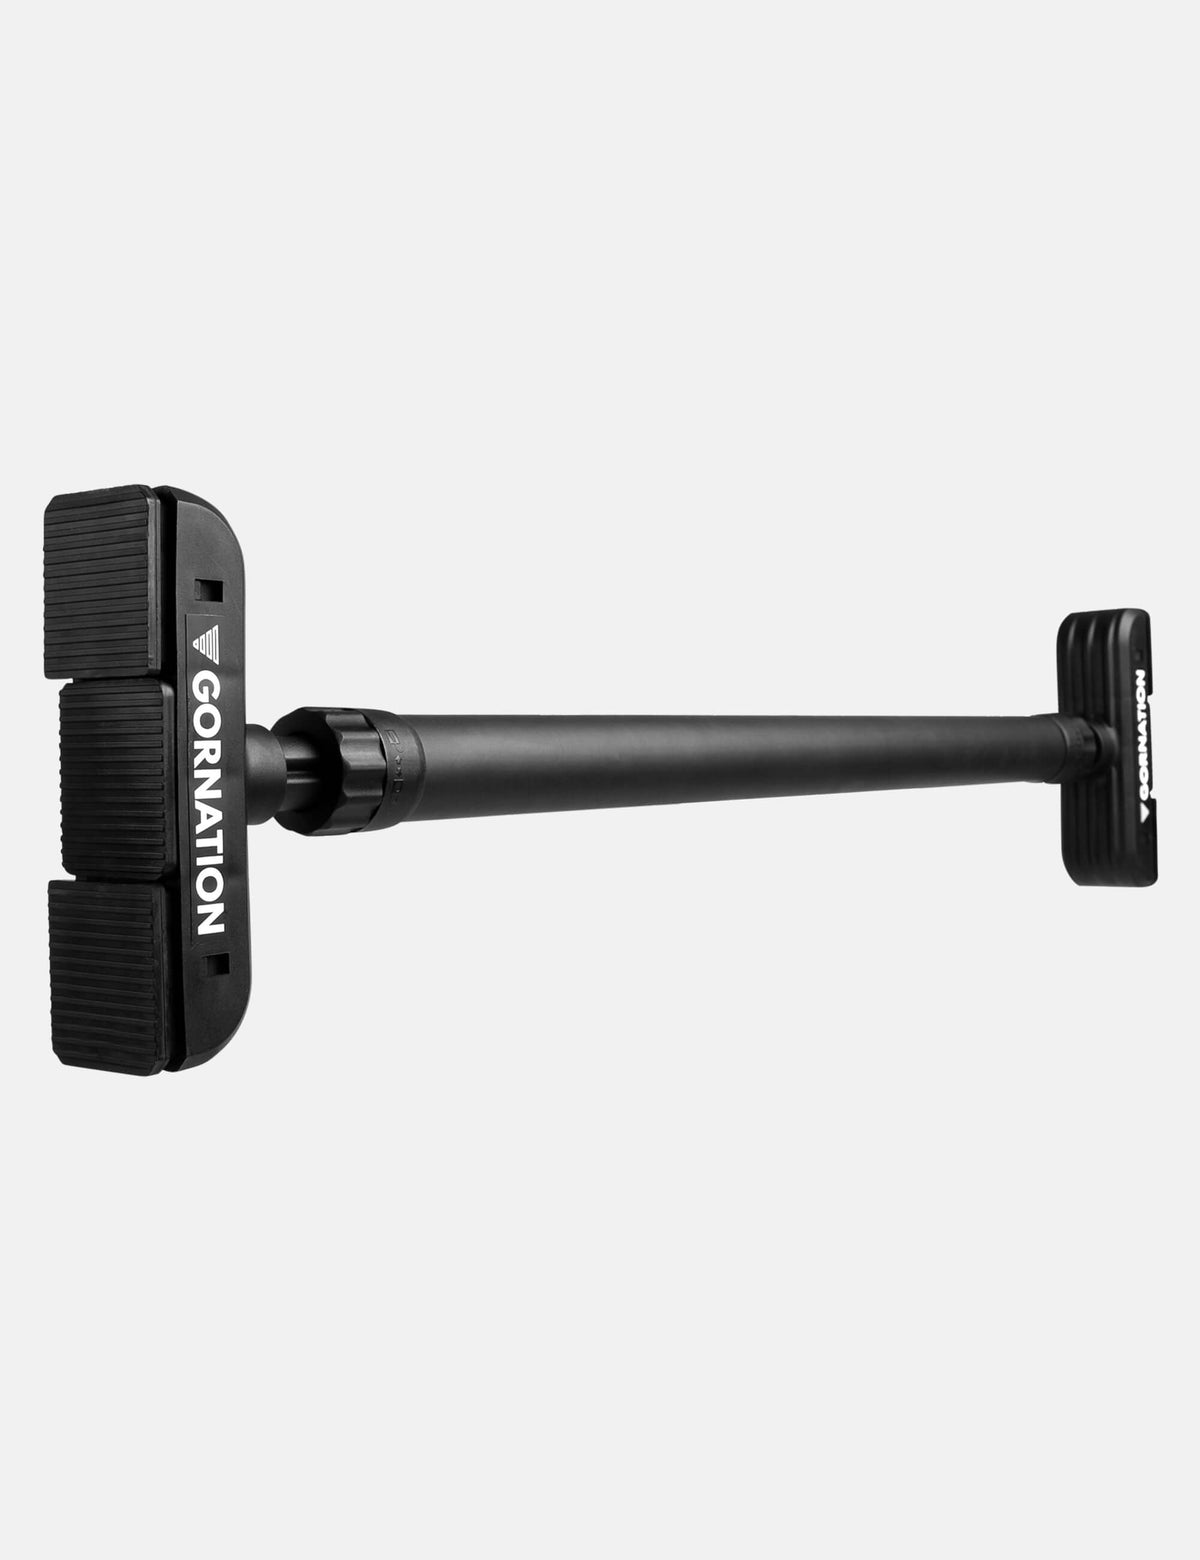
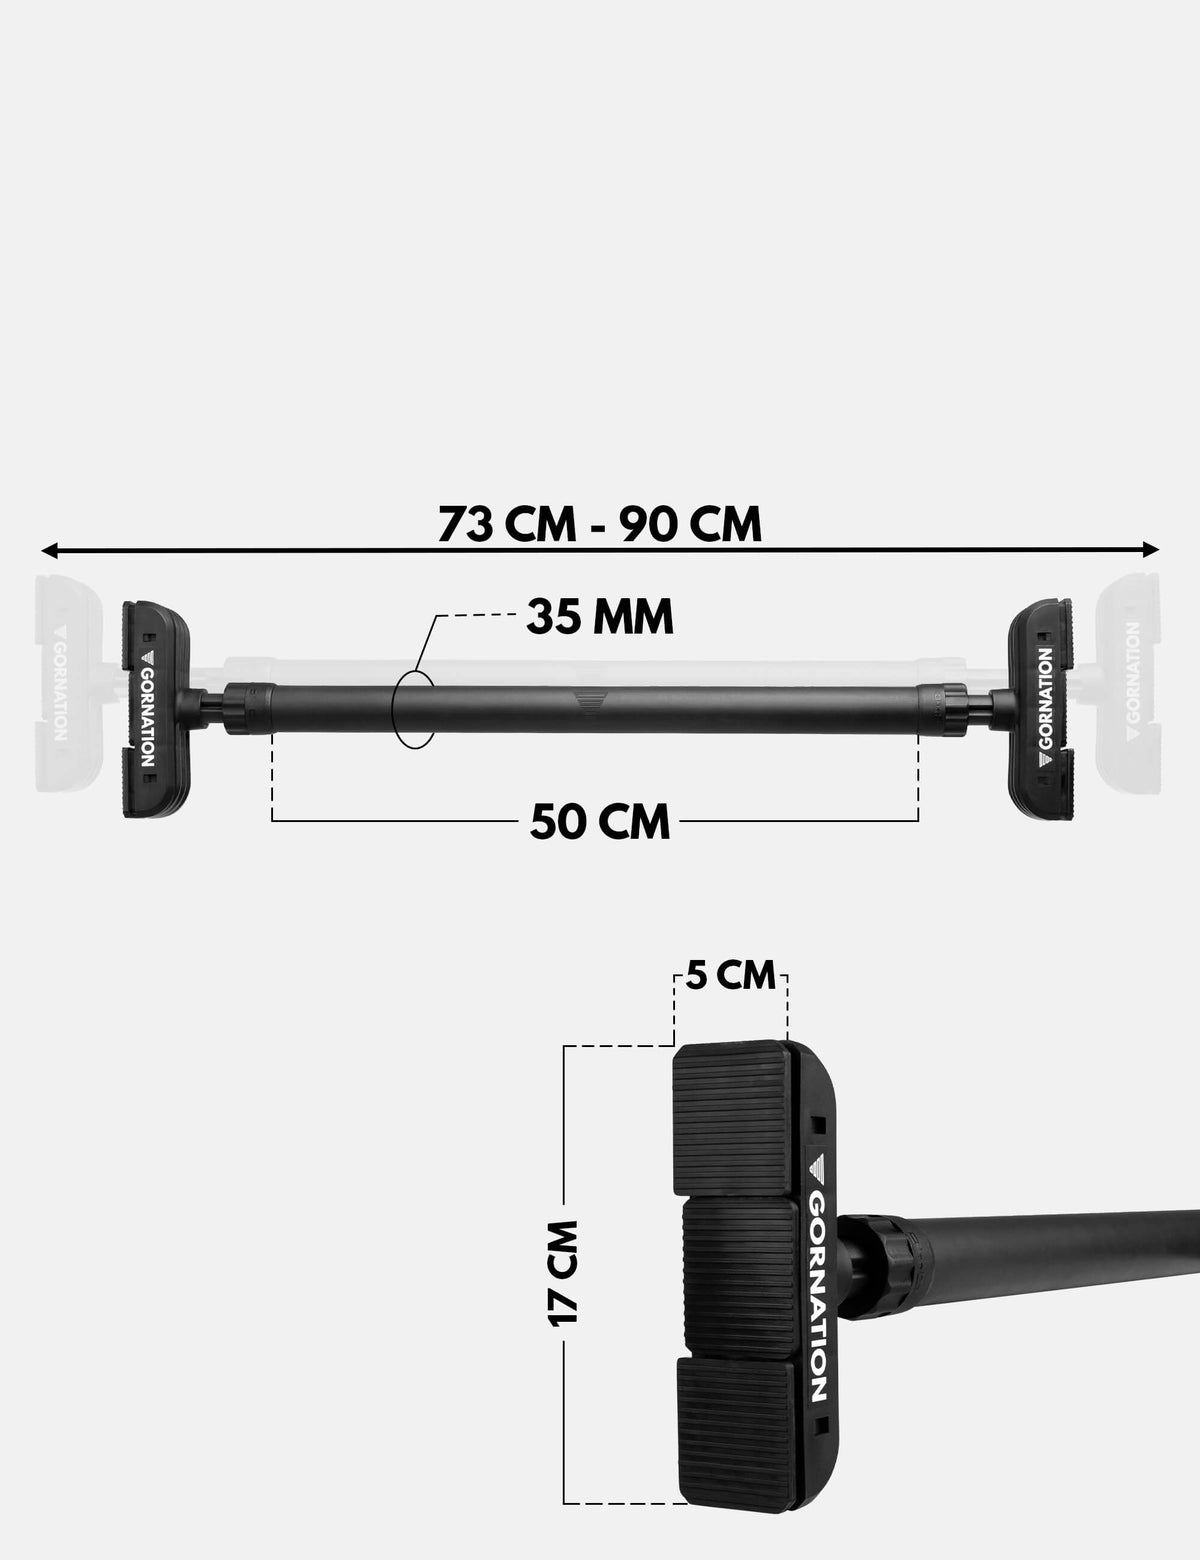
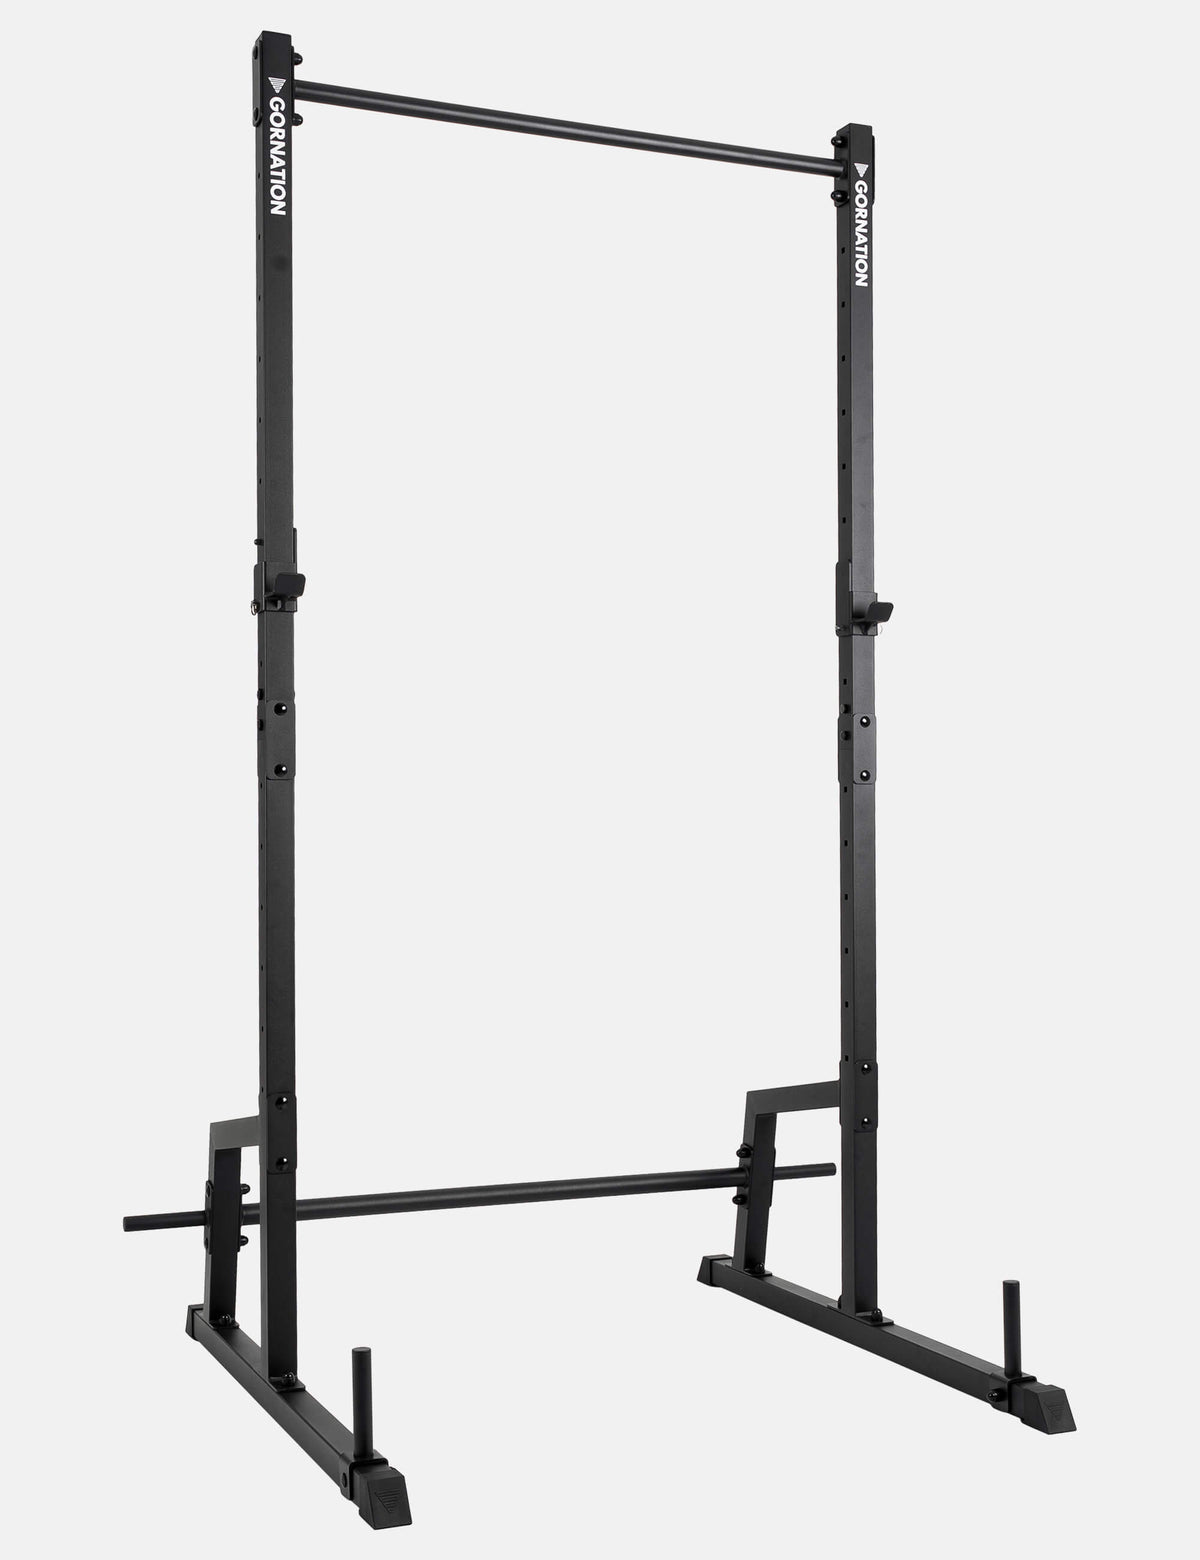
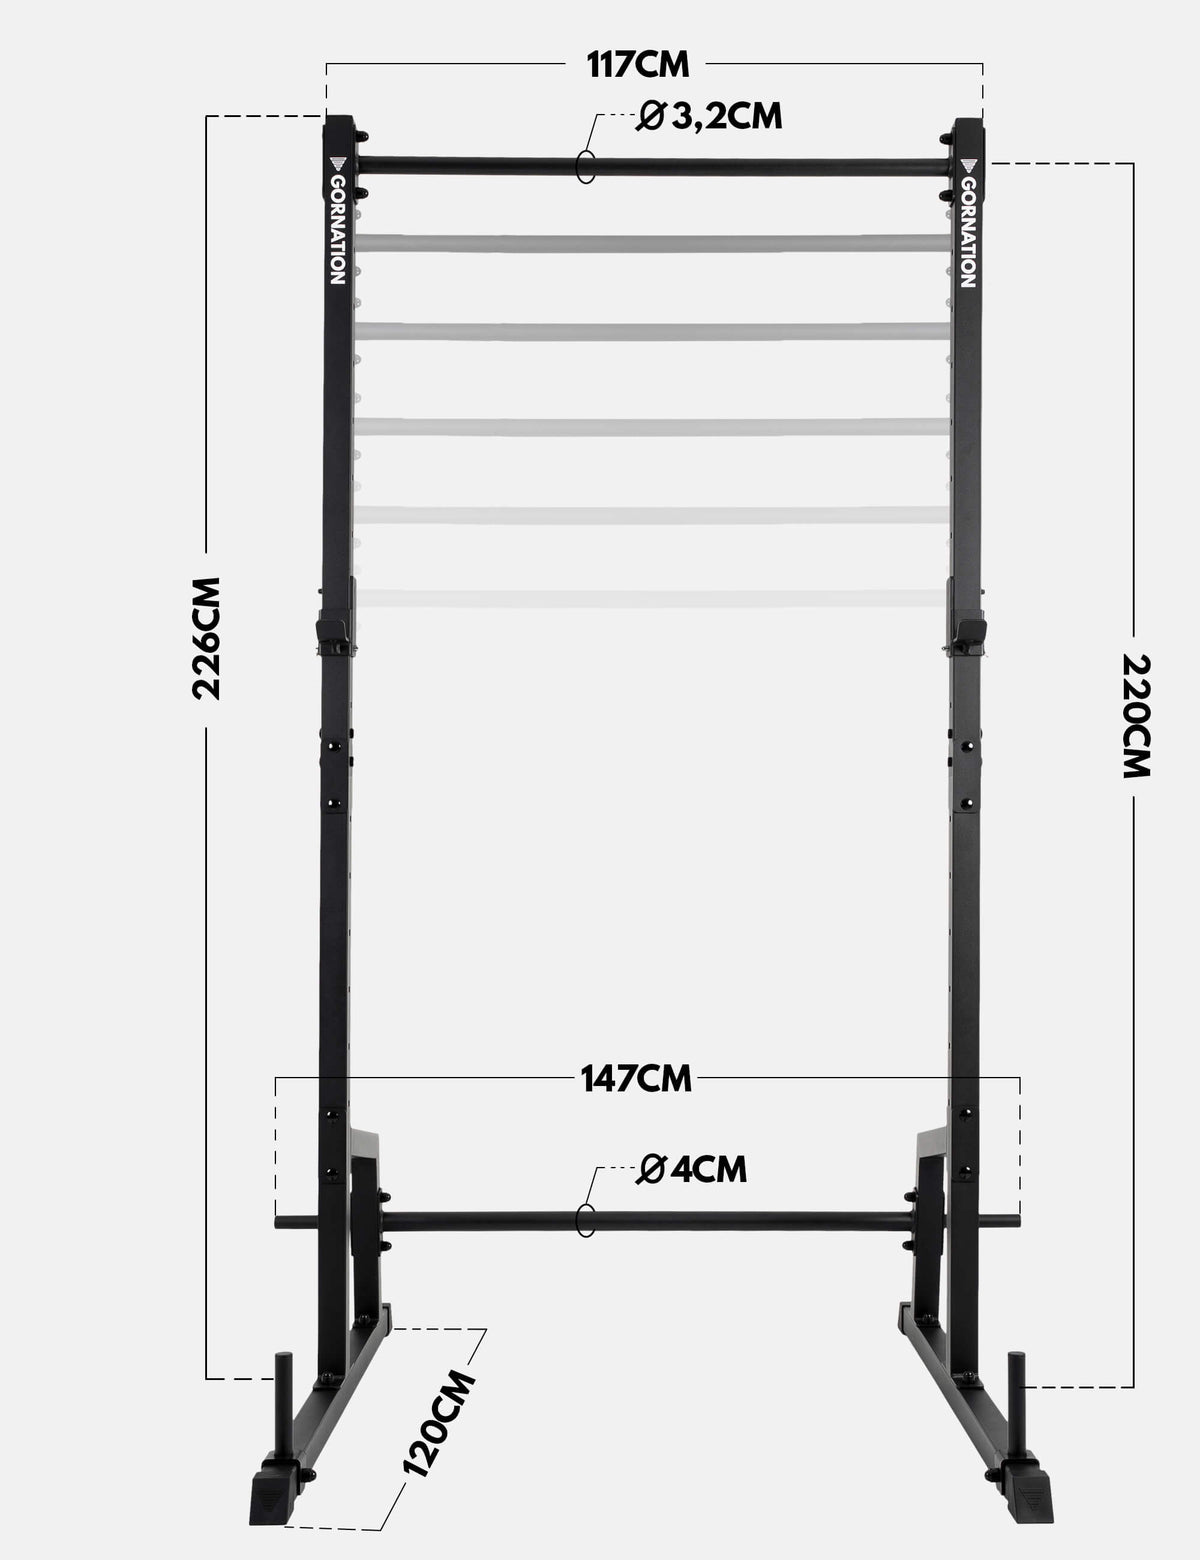
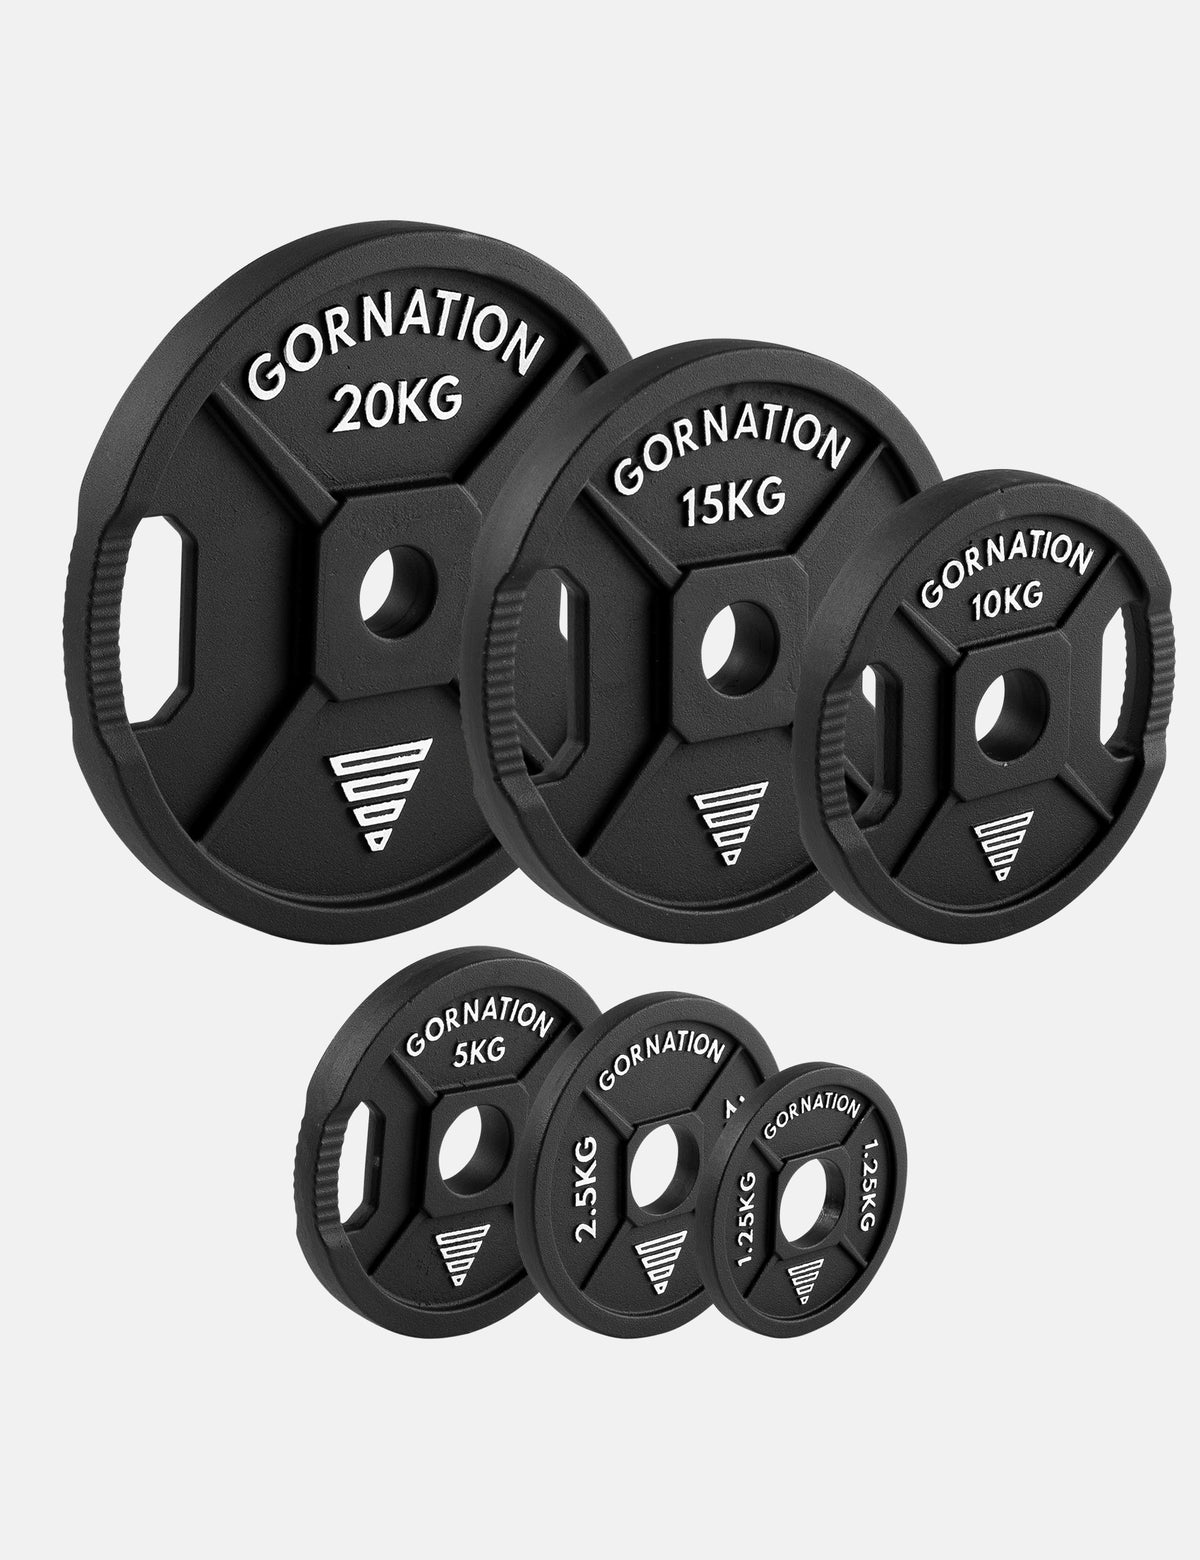
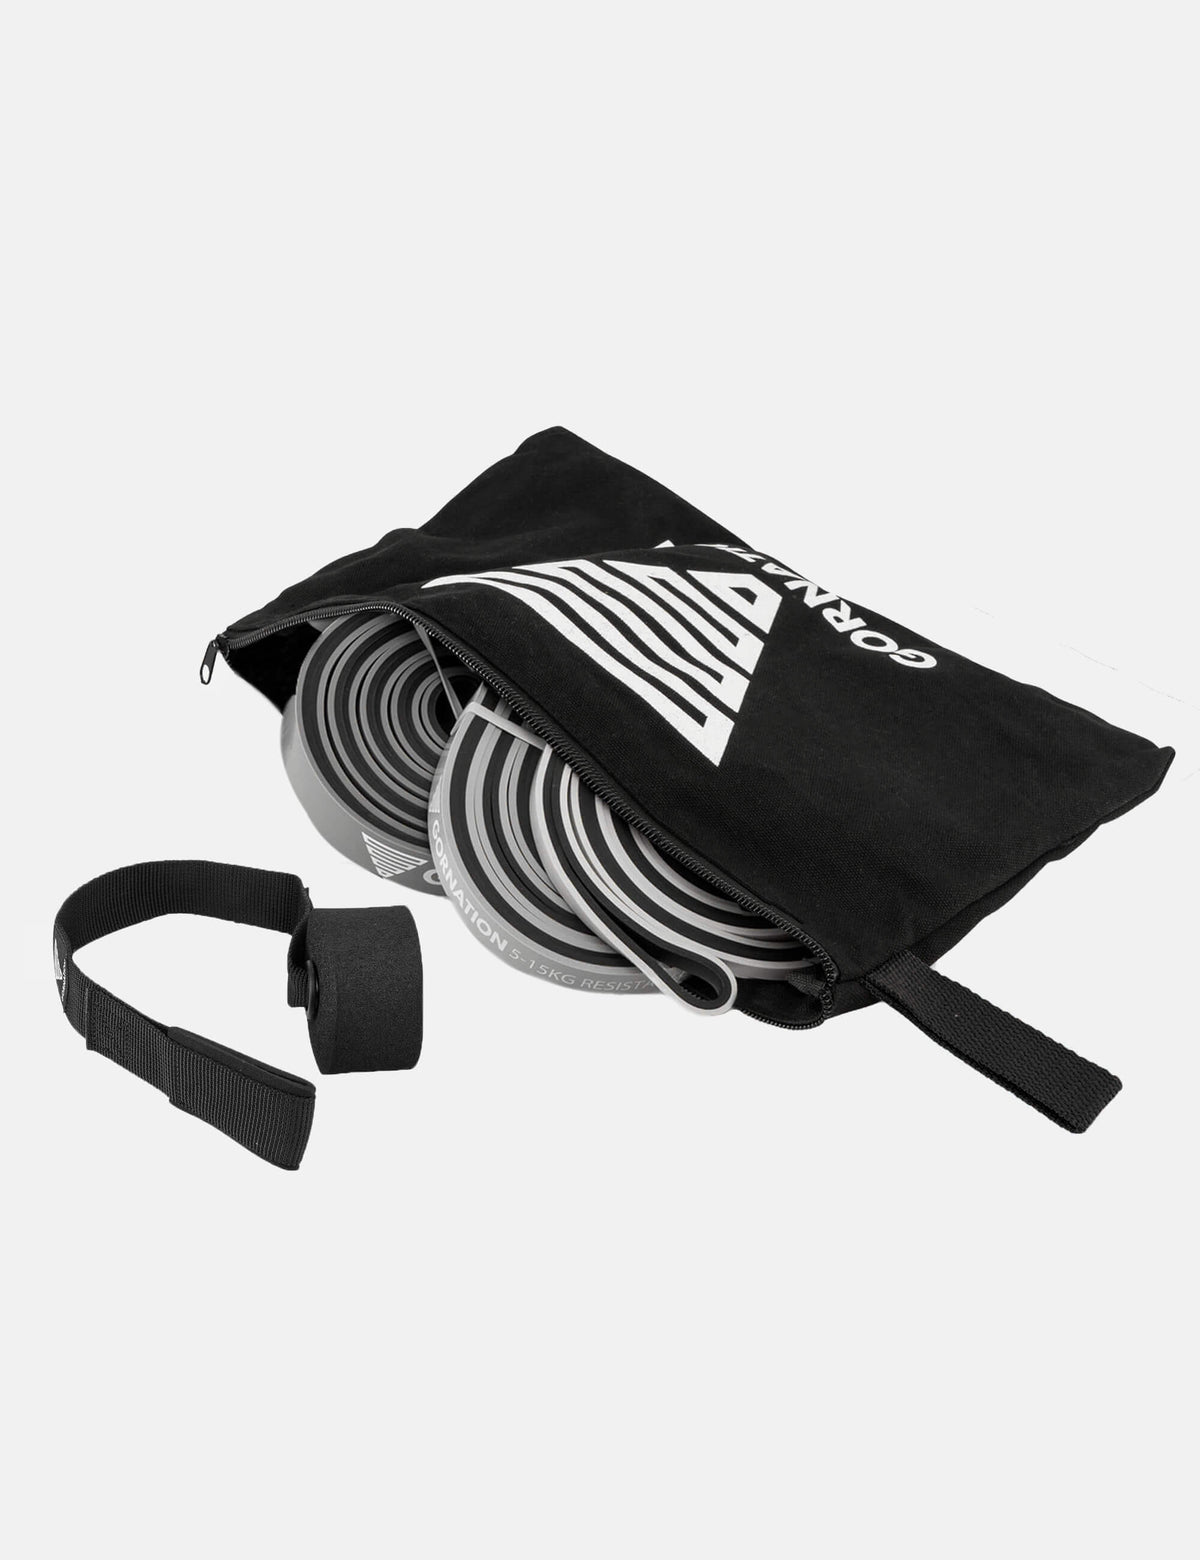
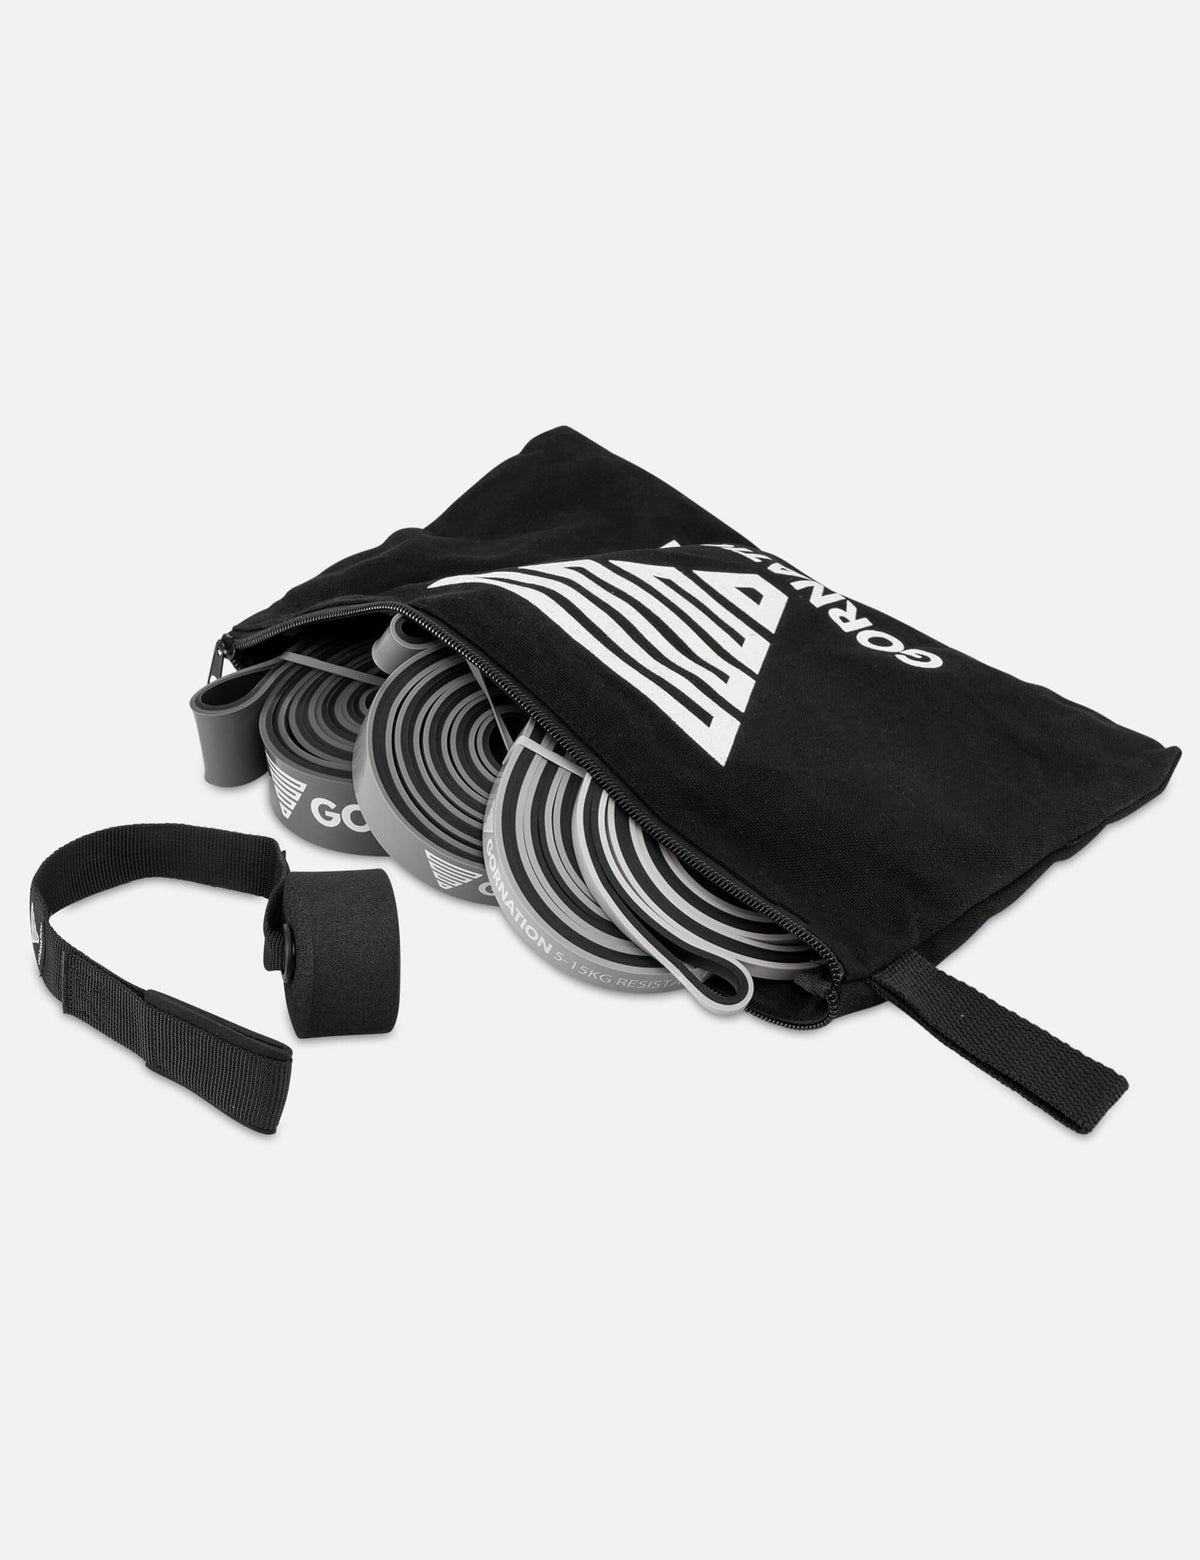
Recommended Equipment for Assisted Front Lever


Benefits of the exercise
The Assisted Front Lever is a perfect progression for developing strength, body control, and form toward the full Front Lever:
-
Builds lat, back, and core strength while maintaining a straight body line
-
Improves scapular control (depression & protraction) for shoulder stability
-
Develops straight-arm strength and total body tension
-
Allows scalable progression through different band resistances - safe and effective path to the full Front Lever
This makes it a valuable skill for both beginners and advanced athletes looking to improve hold duration, form, and control.
Main muscles used
The Assisted Front Lever primarily targets:
-
Latissimus dorsi
-
Trapezius (middle and lower fibers) and rhomboids
-
Rear and lateral deltoids and the long head of the triceps
-
Core muscles (rectus abdominis, obliques) and glutes for maintaining hollow-body tension
This combination of pulling strength and isometric core engagement creates balanced shoulder and back development.
If you're looking for other exercises, check out our Youtube video:
Mistakes to avoid
Common mistakes when performing the Assisted Front Lever:
-
Using too much band assistance: Only use enough help to maintain clean form - avoid relying entirely on the band.
-
Bent arms: Keep your elbows locked to develop true straight-arm strength.
-
Arching the lower back: Engage your core, squeeze your glutes, and keep ribs down to stay in a hollow position.
-
Shoulders rising toward ears: Maintain scapular depression and protraction for stable shoulder alignment.
-
Loose legs or unpointed toes: Keep a full-body line - straight legs and pointed toes improve leverage and aesthetics.
- Rushed repetitions: Focus on controlled holds (5–10s) and clean negatives instead of short, unsteady reps.
Progress by reducing band strength gradually, increasing hold times, and maintaining perfect body alignment to achieve the unassisted Front Lever.
Discover more Exercises
Looking for more ways to level up your training? Check out our full exercise overview or try these effective exercises that perfectly complement your training:
Please read our legal disclaimer before starting your workout.