| 7,000+ Reviews
 Free EU Shipping above 100€*
 400,000+ Customers Worldwide
 Worldwide Tracked Shipping
How to do the exercise
The Assisted Handstand with Parallettes is the perfect variation if a free handstand is still too challenging. It helps you build balance, improve shoulder stability, and get comfortable being upside down. Here’s how to perform the Assisted Handstand correctly:
1. Starting Position
Place your parallettes shoulder-width apart in front of a wall or a Pull Up Station. Grip them firmly with straight arms and lock your elbows. Keep your shoulders active by pushing them away from your ears.
2. Kicking Up
From a standing position, kick one leg upward while the other follows to bring yourself into a handstand. Let your heels gently touch the wall or Pull Up Station behind you to prevent falling.
3. Balancing Phase
Once upside down, keep your arms completely straight and your core tight. Slowly move your heels away from the wall for a few seconds at a time while holding balance. Look slightly down and fix your gaze on a point between your hands to improve stability.
4. Reset and Repeat
Bring your feet back to the wall if needed, reset your position, and continue practicing. Over time, increase the duration without wall support until you can hold the handstand longer on your own.
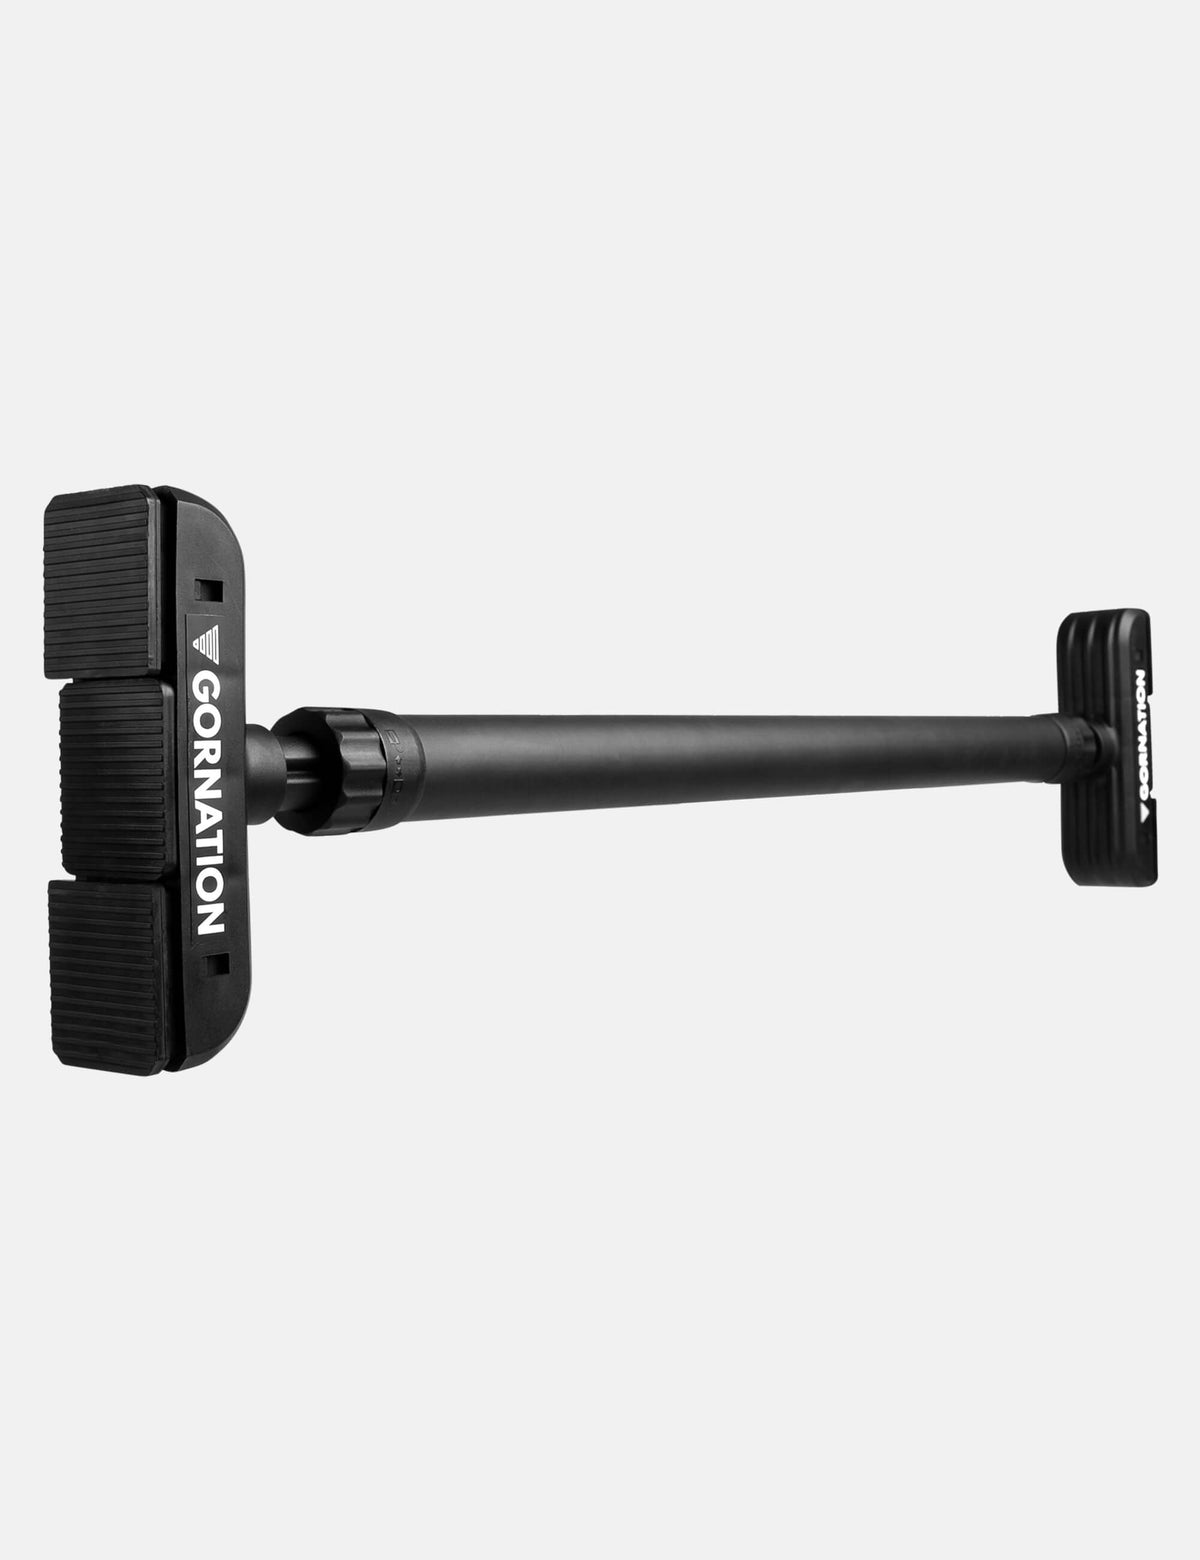
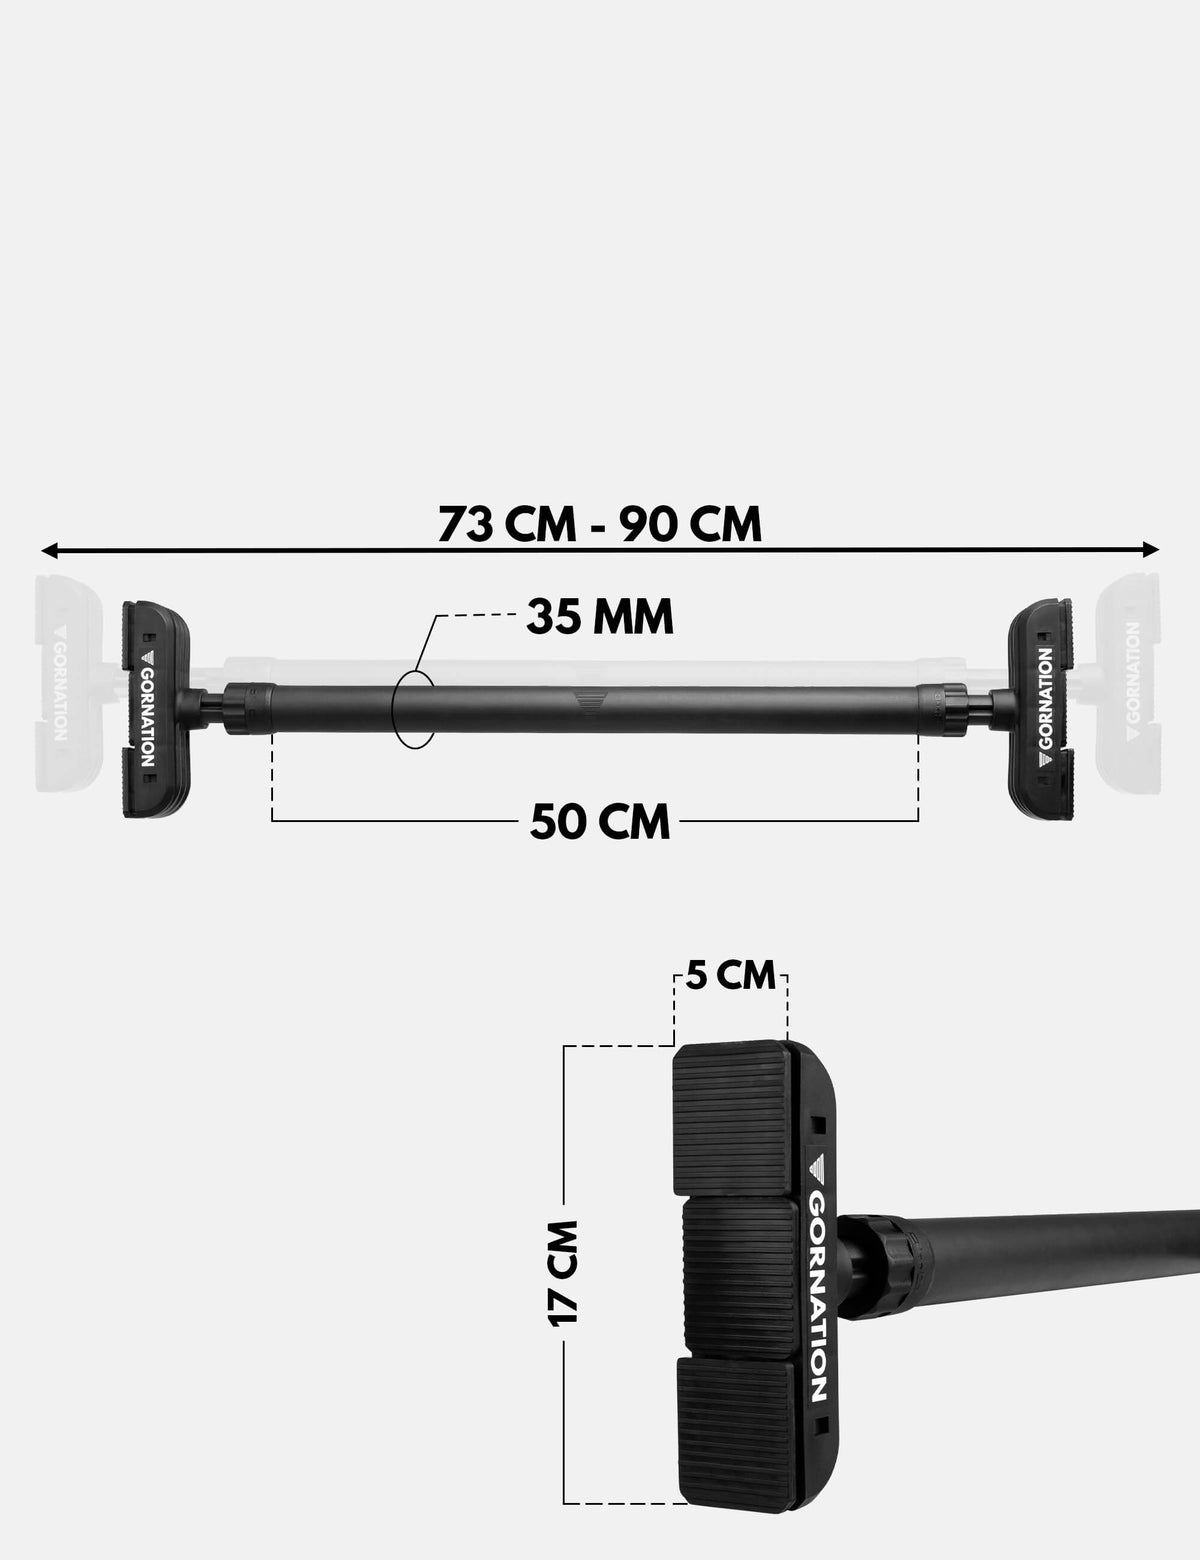
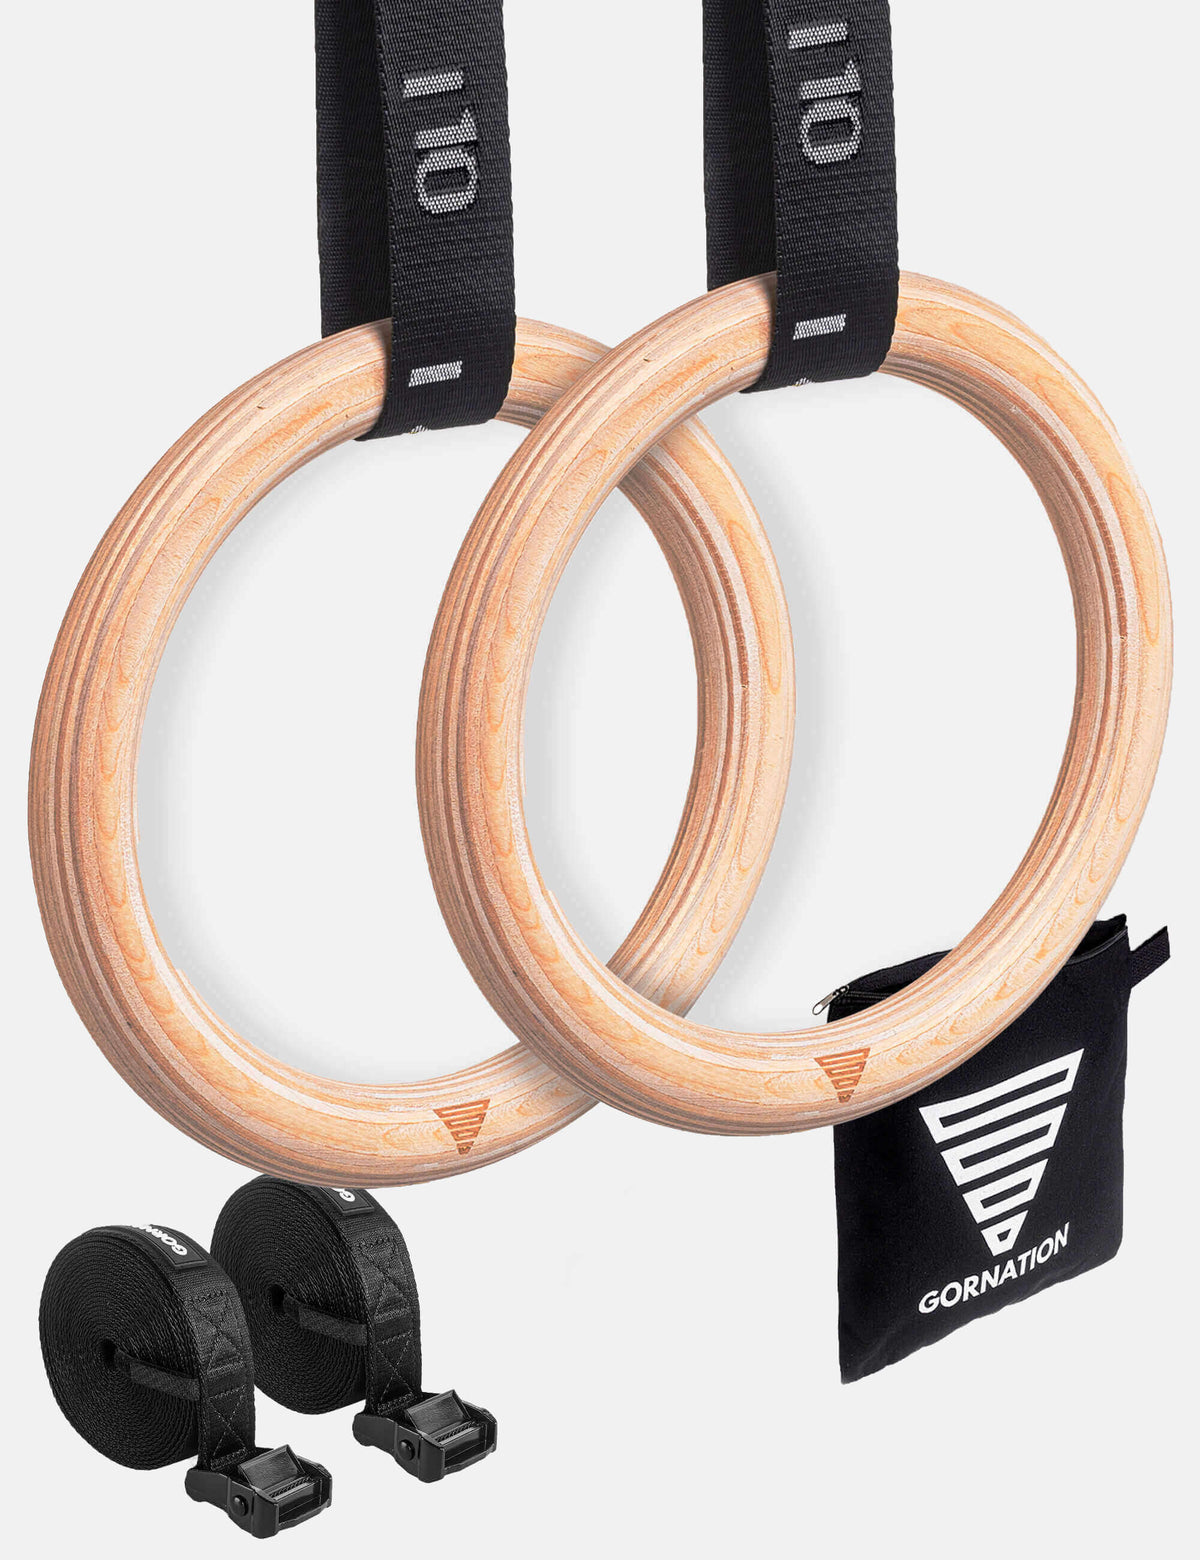
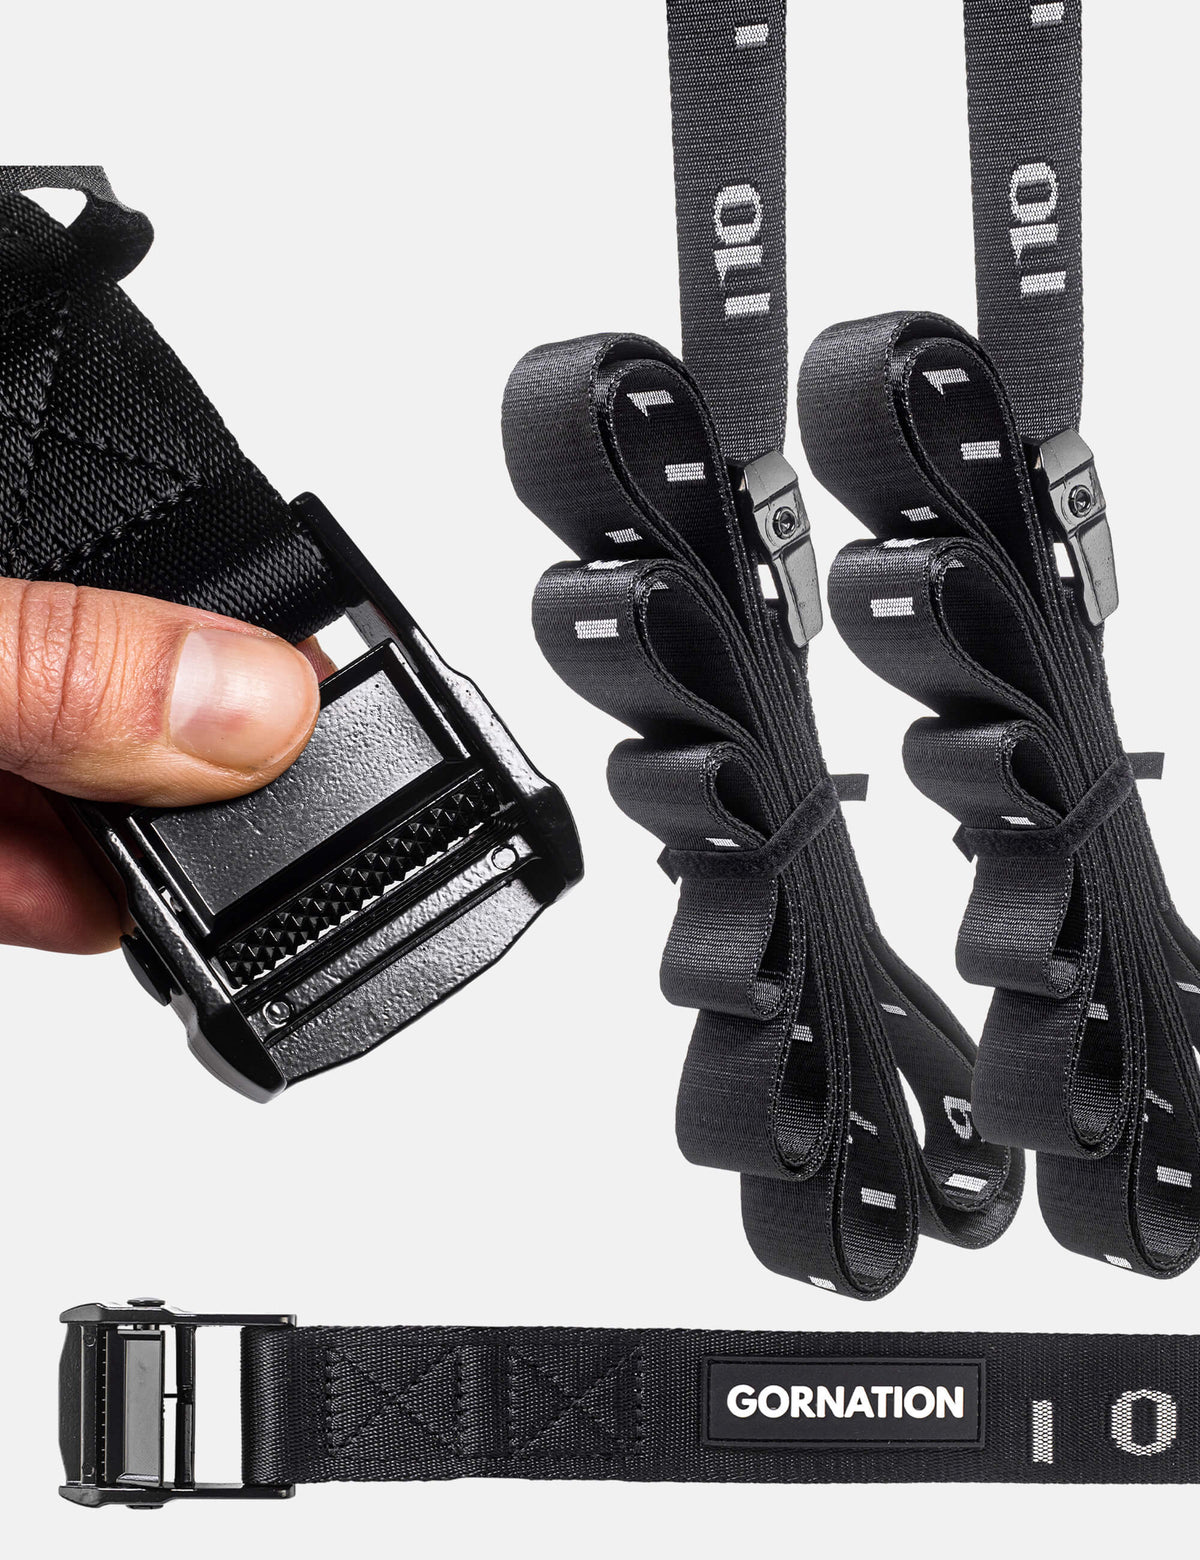
Recommended Equipment for Assisted Handstands


Benefits of the exercise
The Assisted Handstand with Parallettes is ideal for developing the skills and strength needed for a free handstand:
-
Improves shoulder and core stability in a safe way
-
Protects wrists thanks to the neutral grip
-
Helps you overcome fear of falling by using support
-
Builds balance and body control for calisthenics skills
This makes it an essential step for beginners aiming for their first handstand and a valuable accessory drill for advanced athletes working on control and endurance.
Main muscles used
The Assisted Handstand primarily targets:
-
Shoulders (Deltoids)
-
Triceps
-
Core muscles (for stabilization)
-
Forearms & Grip (through parallette support)
By practicing balance with assistance, you strengthen your entire upper body and prepare for the progression toward free handstands.
If you're looking for other handstand exercises, check out our Youtube video:
Mistakes to avoid
Common mistakes when performing the Assisted Handstand include:
-
Bent arms: Always lock your elbows to stay stable and protect joints.
-
Shoulders shrugged up: Keep shoulders away from your ears for proper activation.
-
Overkicking: Too much force makes you lose control. Kick up smoothly.
-
Looking forward: Instead, look slightly down and fix your gaze on a point between your hands.
-
Not engaging core: A loose core causes arching and instability – stay tight.
Progress by reducing wall contact step by step and focus on clean, controlled holds.
Discover more Exercises
Looking for more ways to level up your training? Check out our full exercise overview or try these effective exercises that perfectly complement your training:
Please read our legal disclaimer before starting your workout.